Kiwi Rider Podcast 2022 | E28
In this week's show, Ray talked us through his insurance win, we have


Since the Yamaha Tenere 700 landed on our shores, there is been one issue that's been mentioned time and time again. The muffler hanger.
Its long, sticks out and means that if the bike is dropped on its right-hand side, it will bend. With any other bike, this wouldn't be a big issue, but unfortunately, it's welded to the subframe, and the sub-frame is welded to the mainframe... meaning if you bend this hanger too many times, it will snap off... then you have technically damaged the frame of your bike...
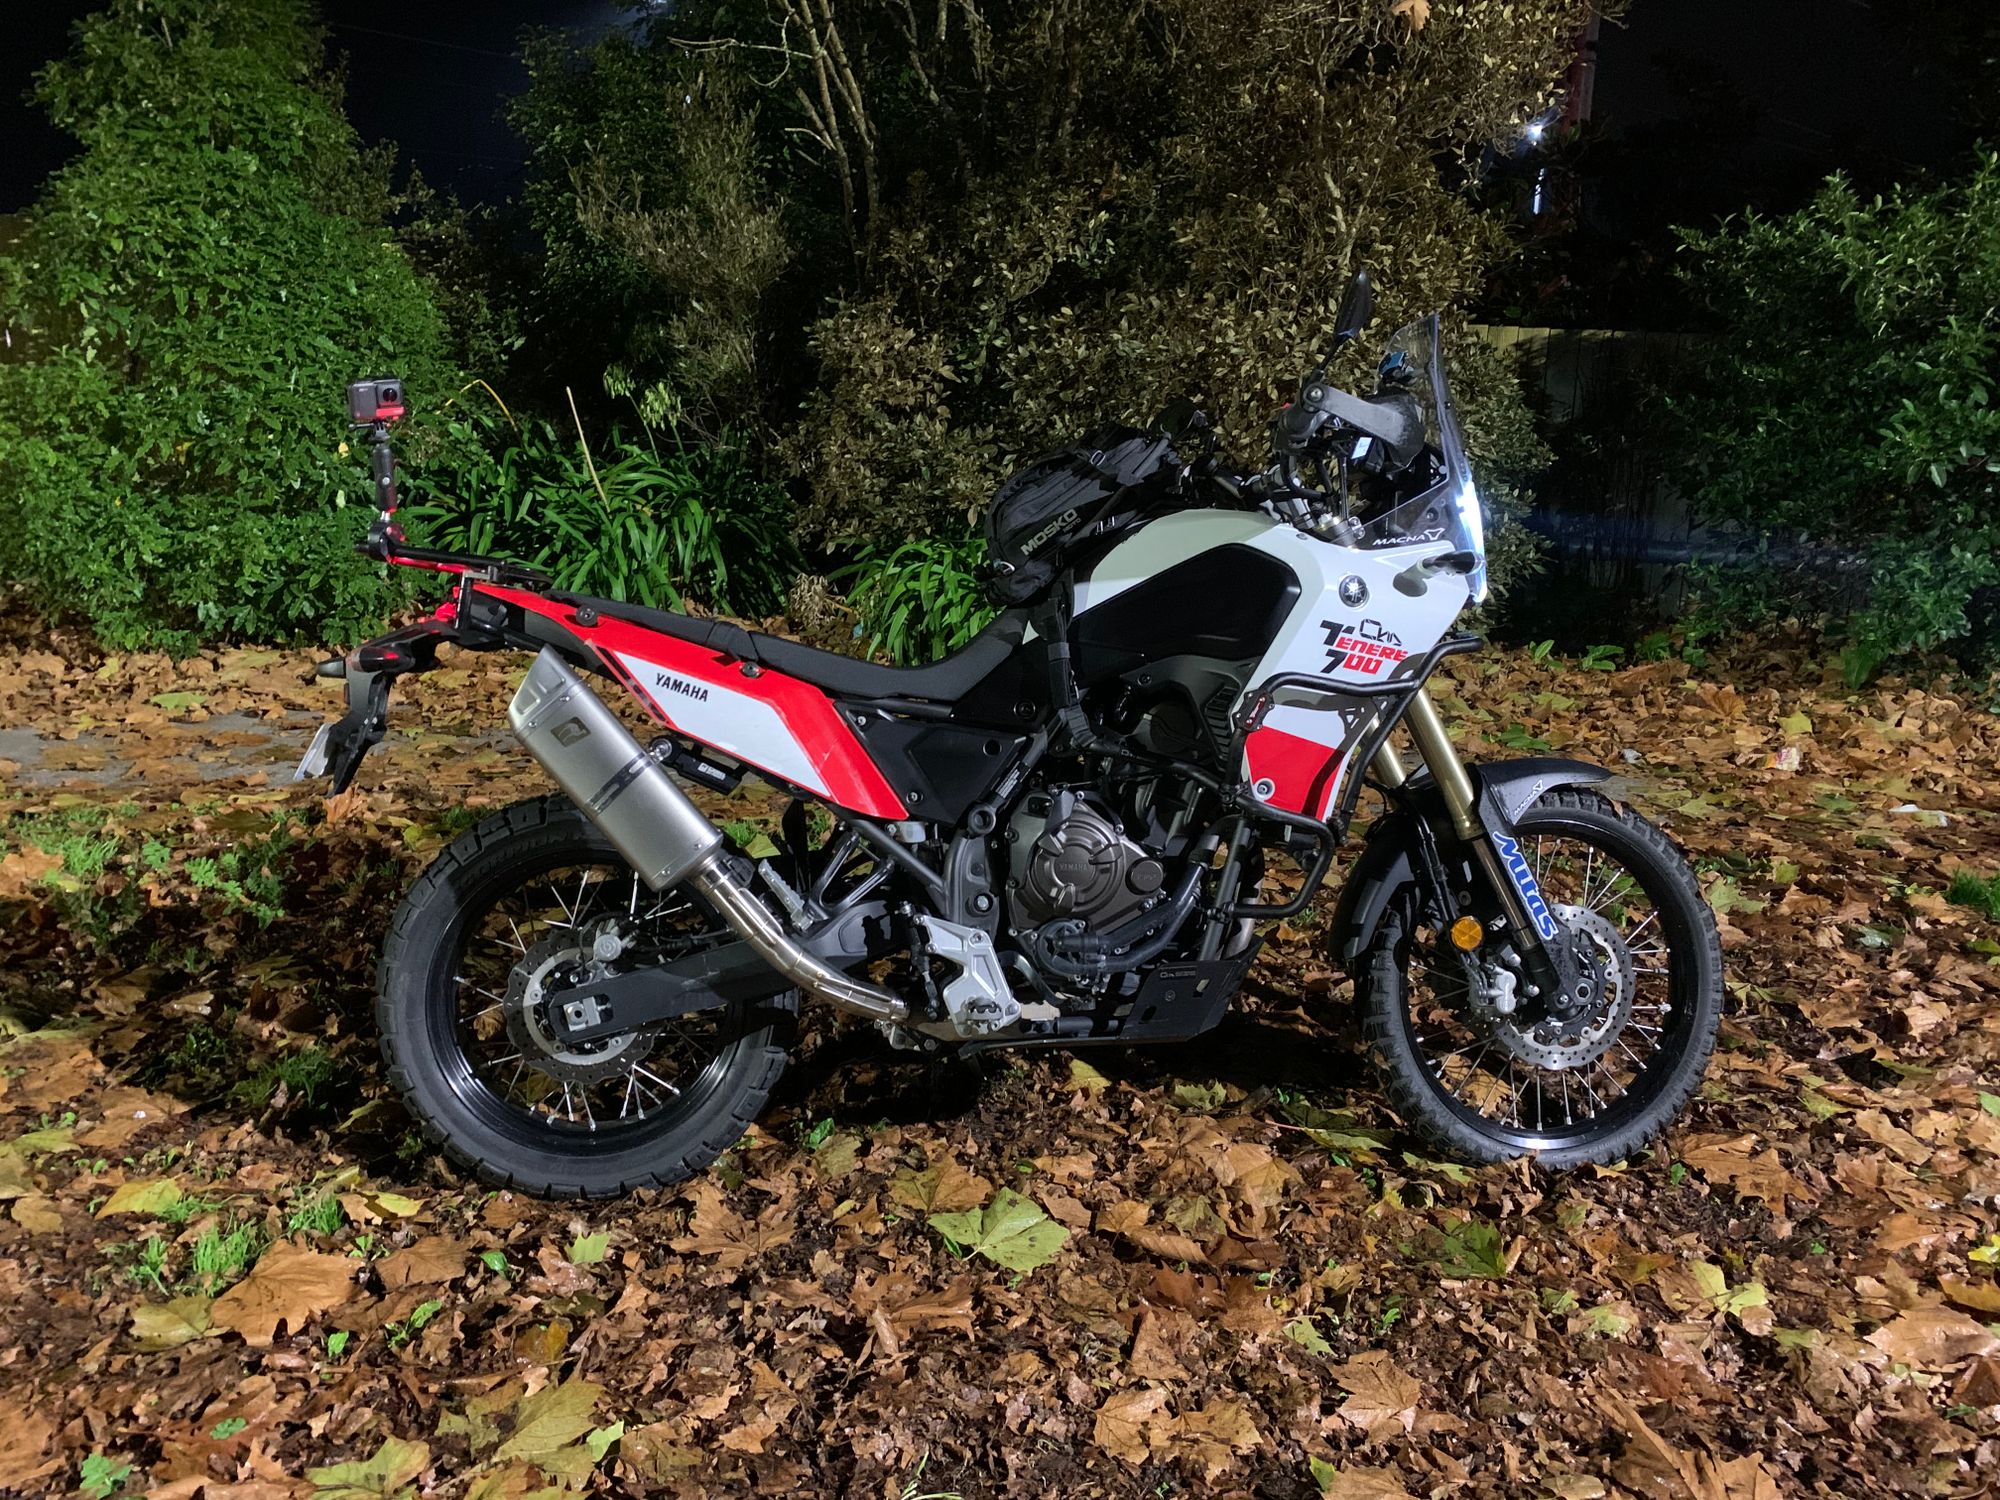
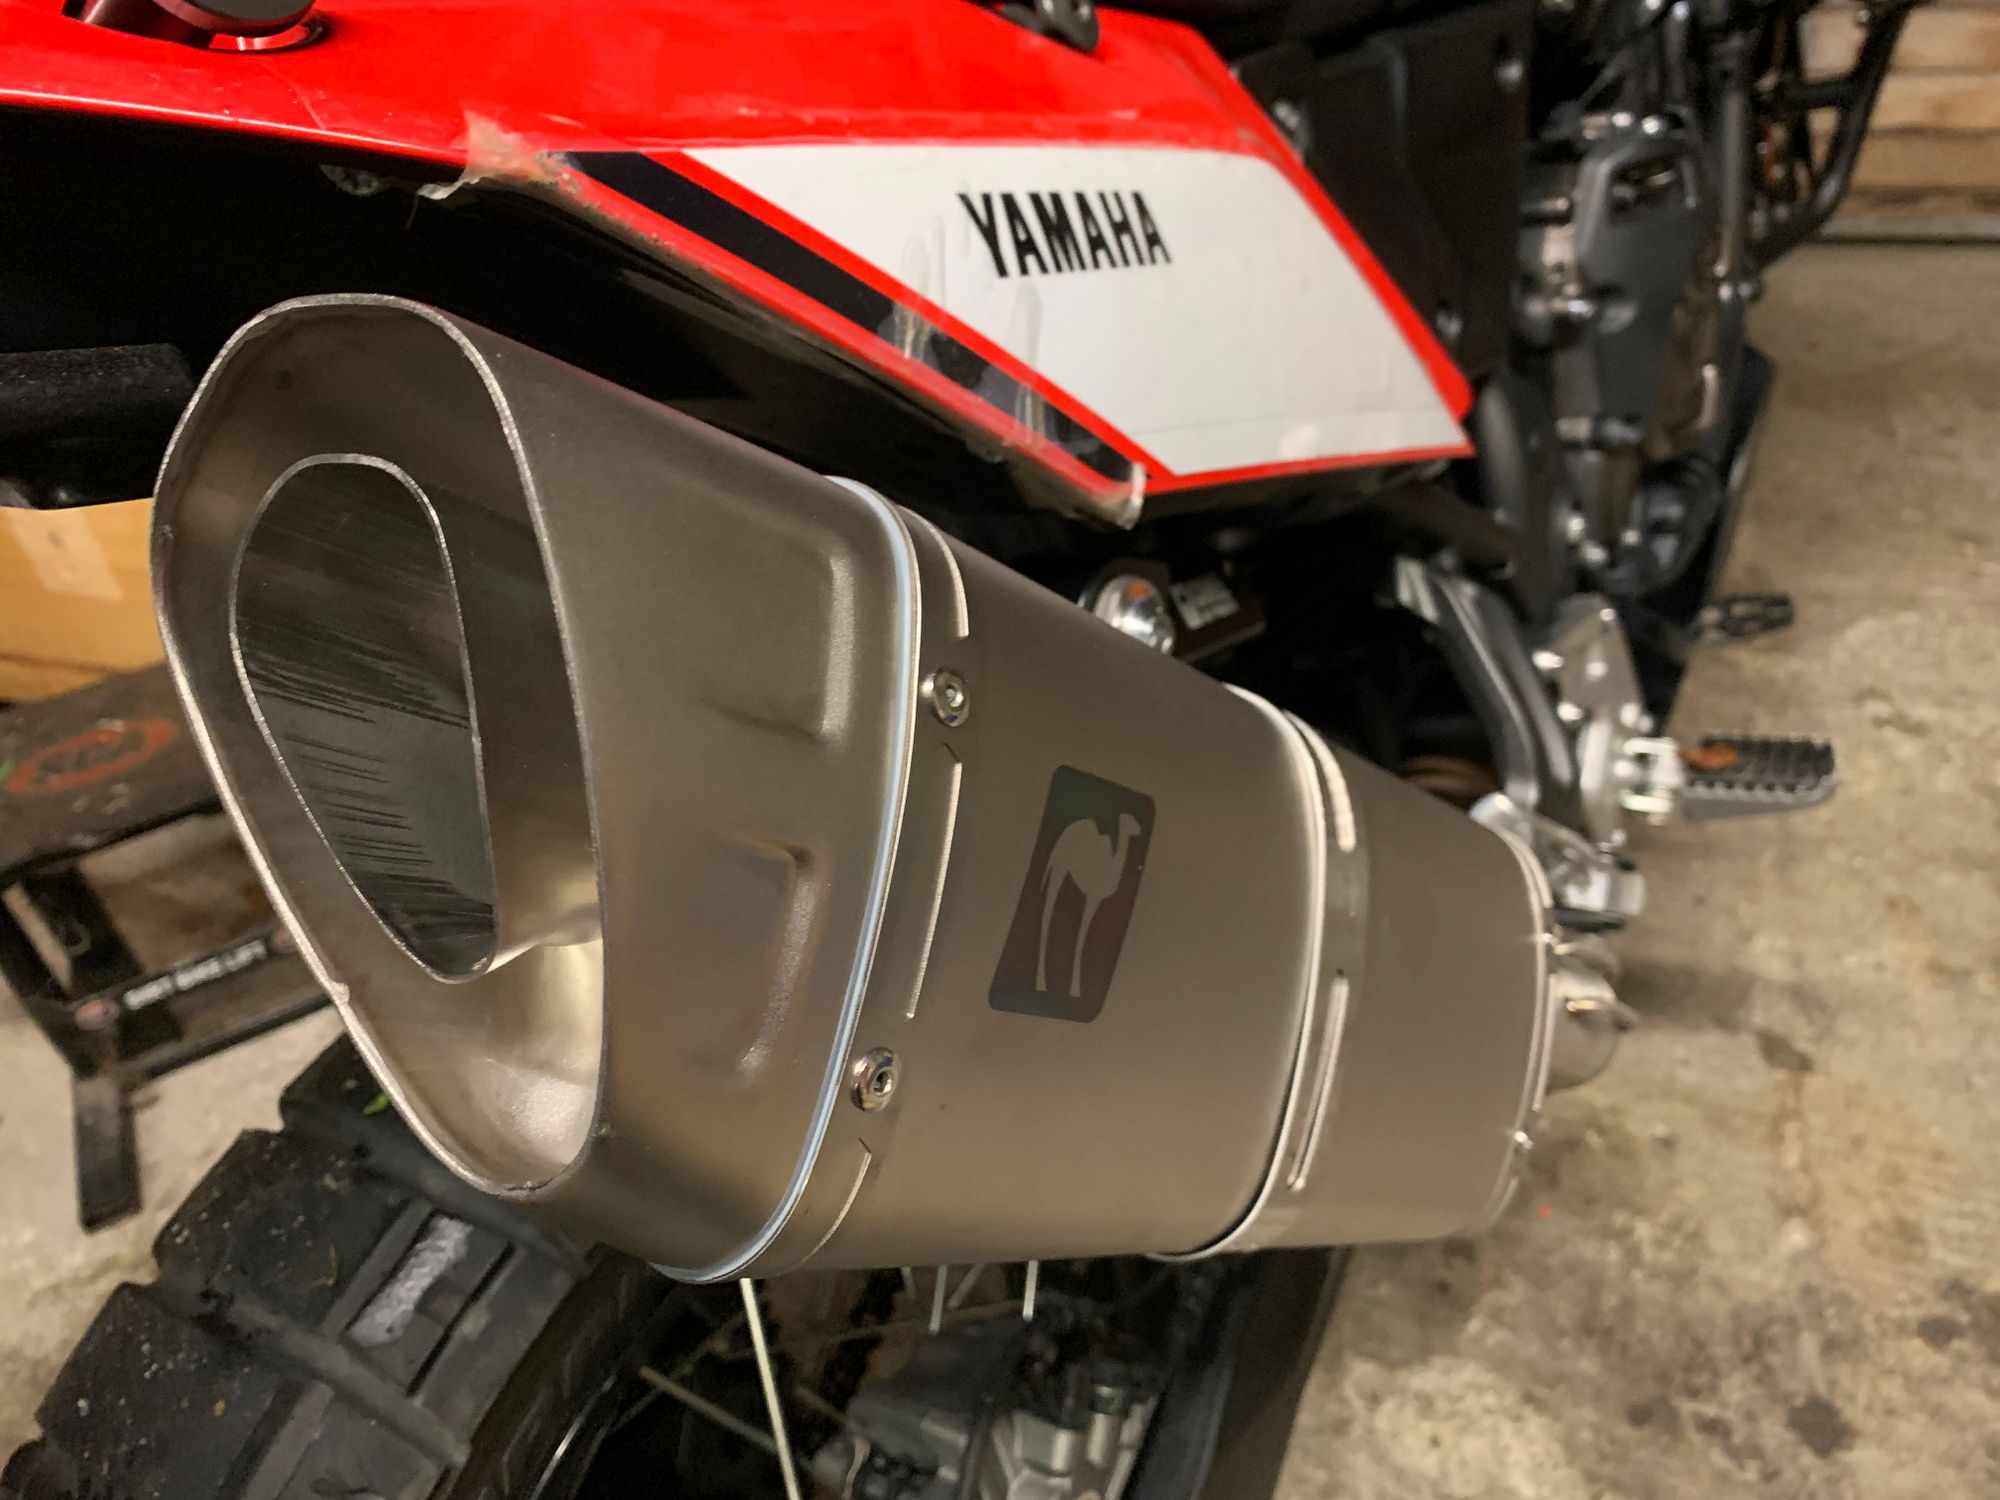
Today we are fixing this issue with our long-term Tenere 700 with the help of Camel ADV.
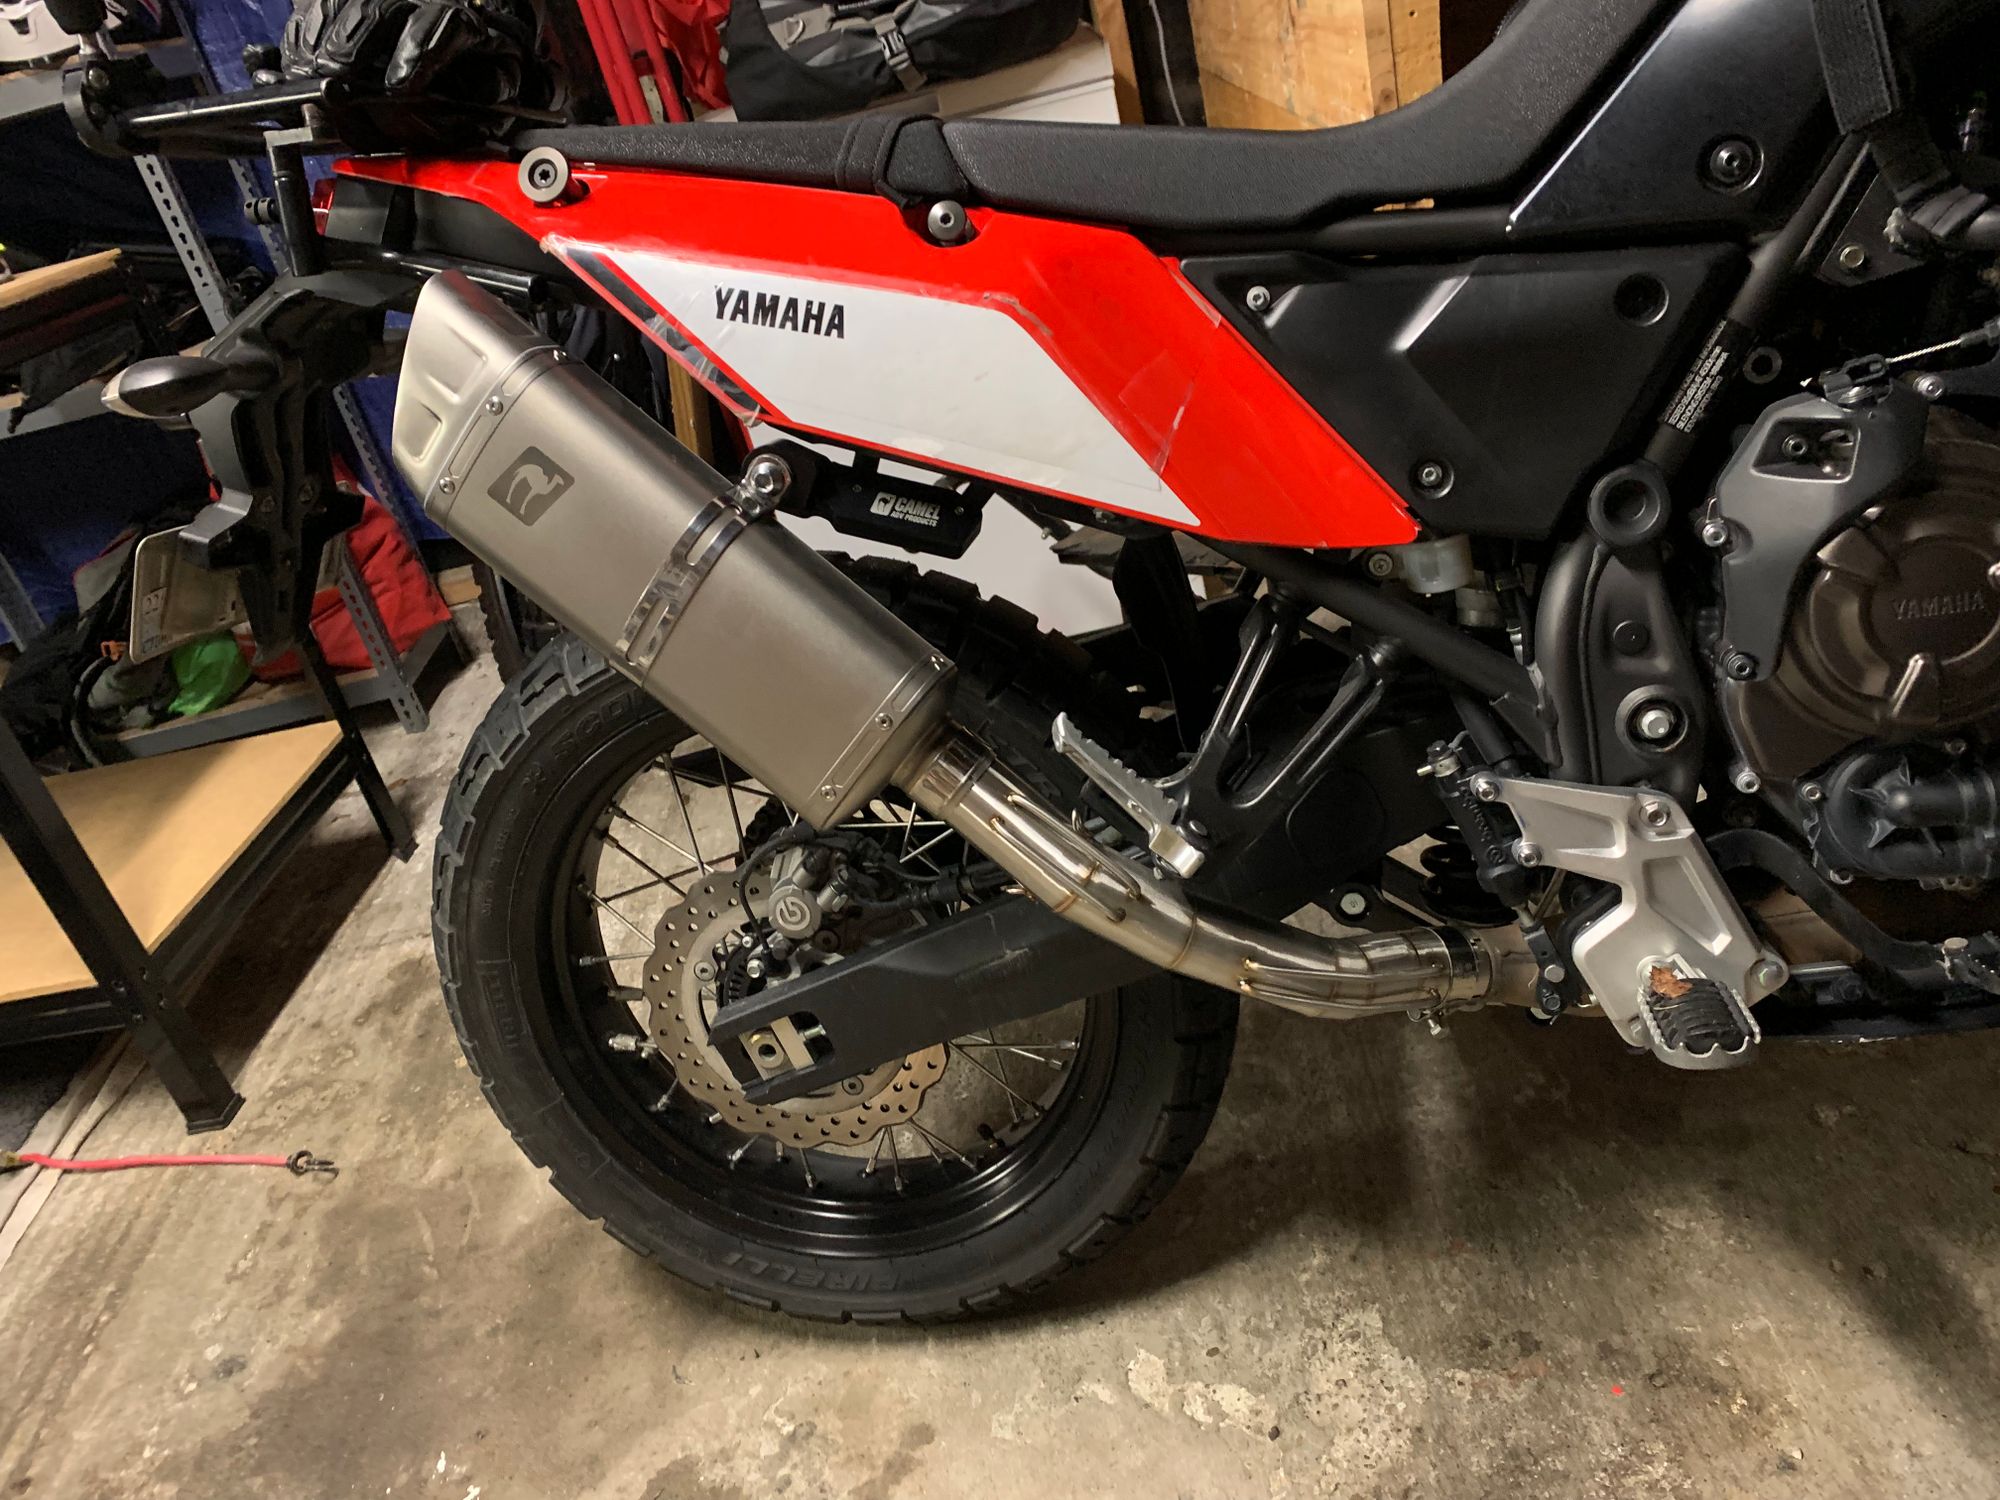
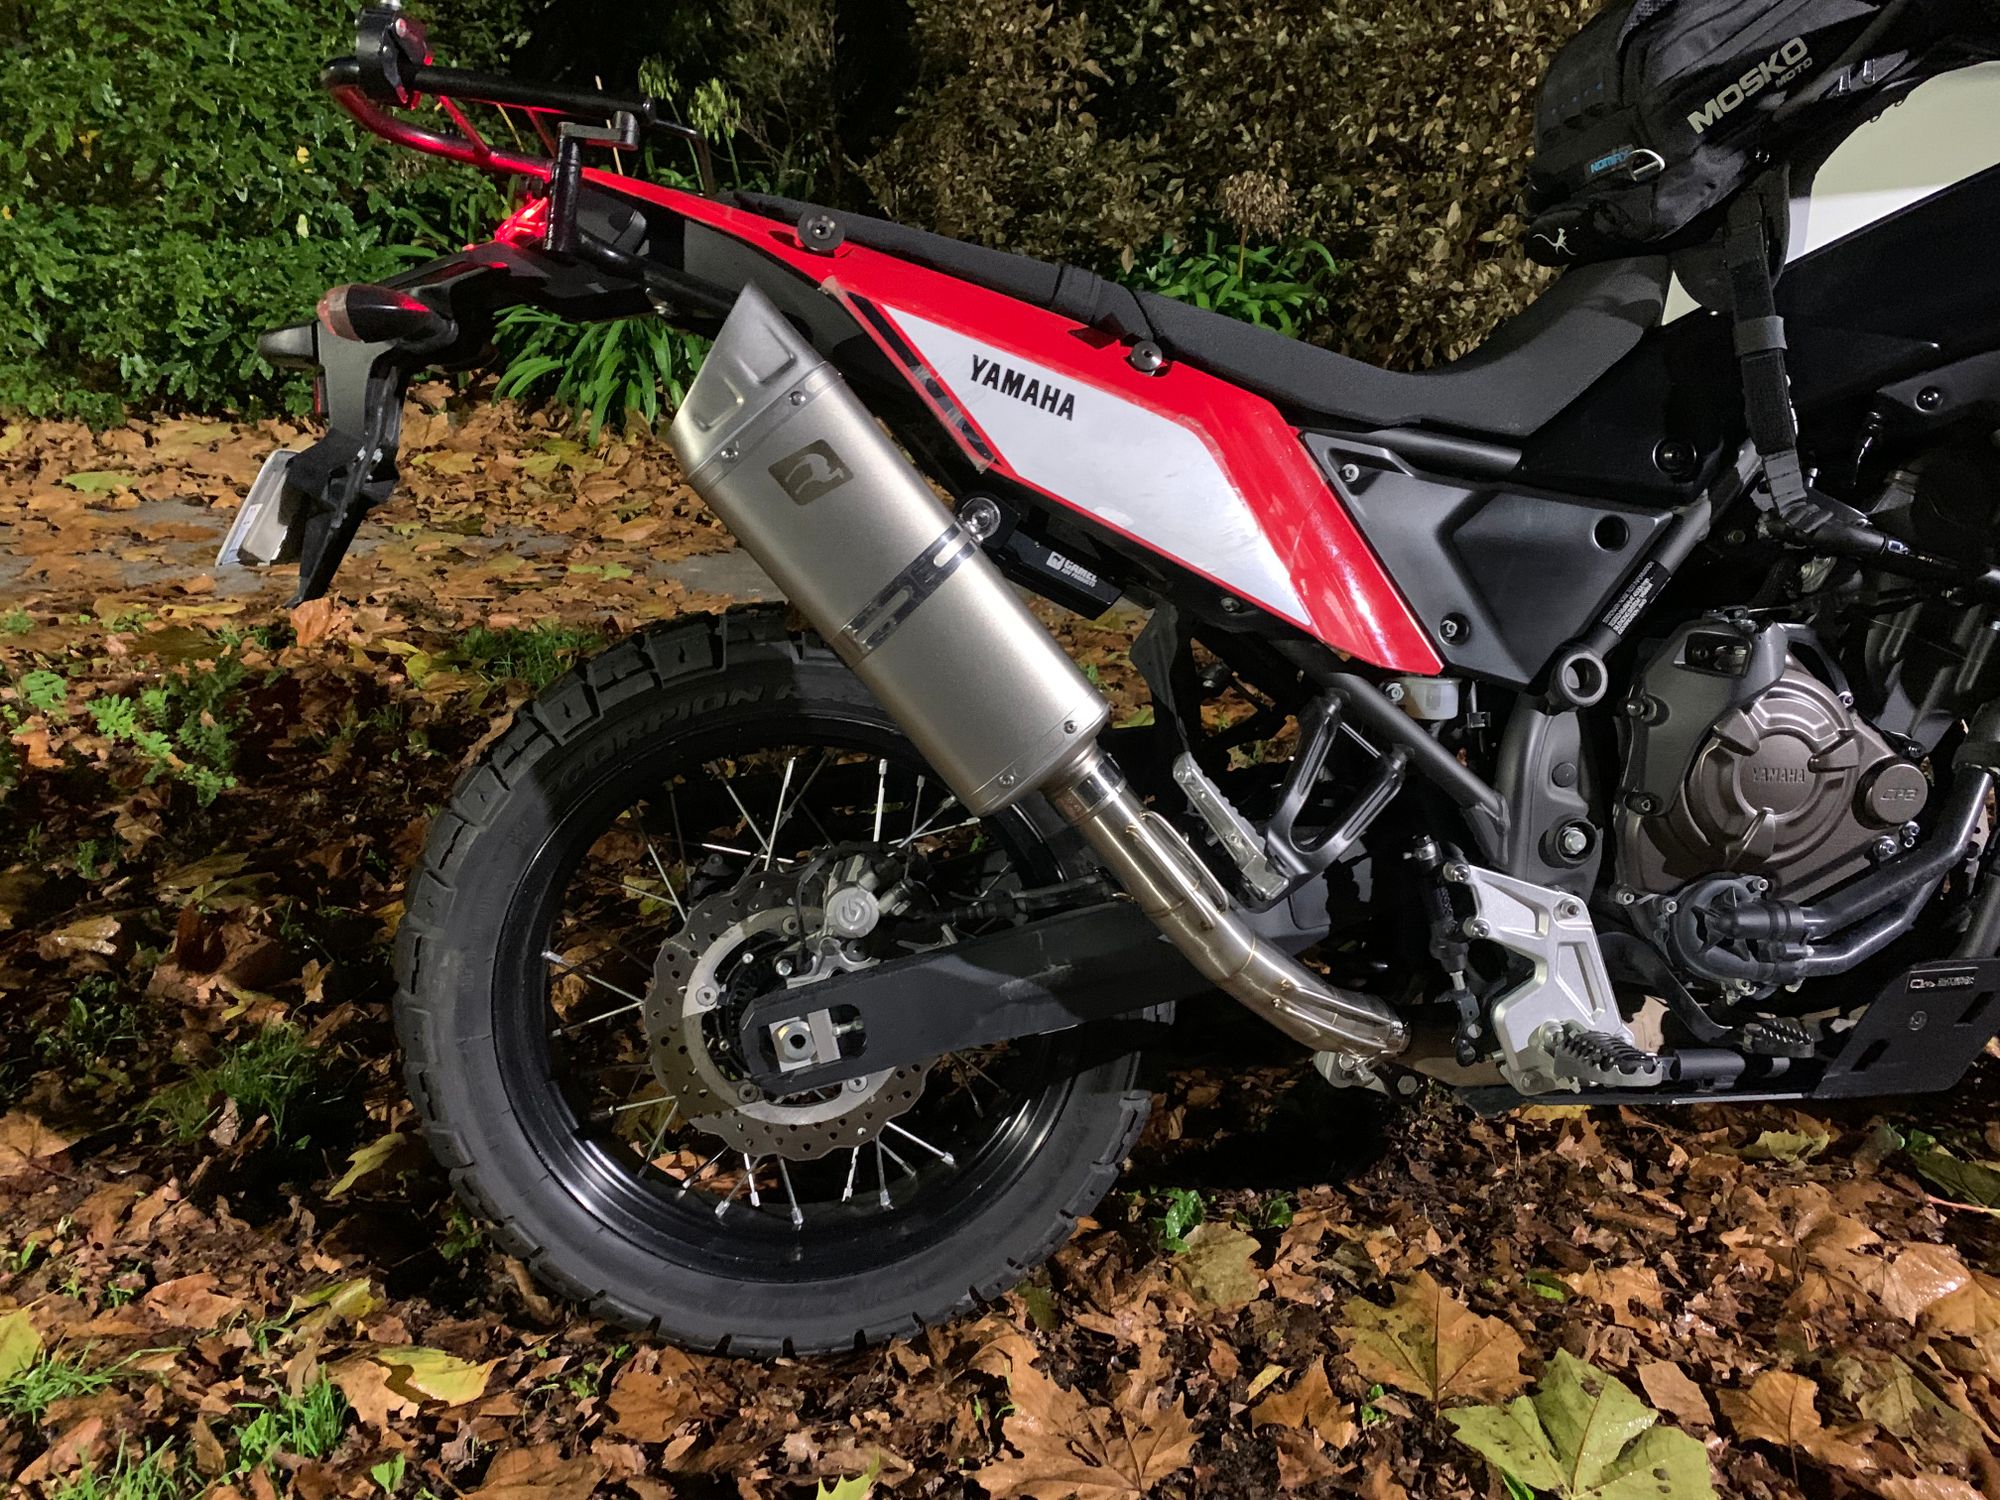
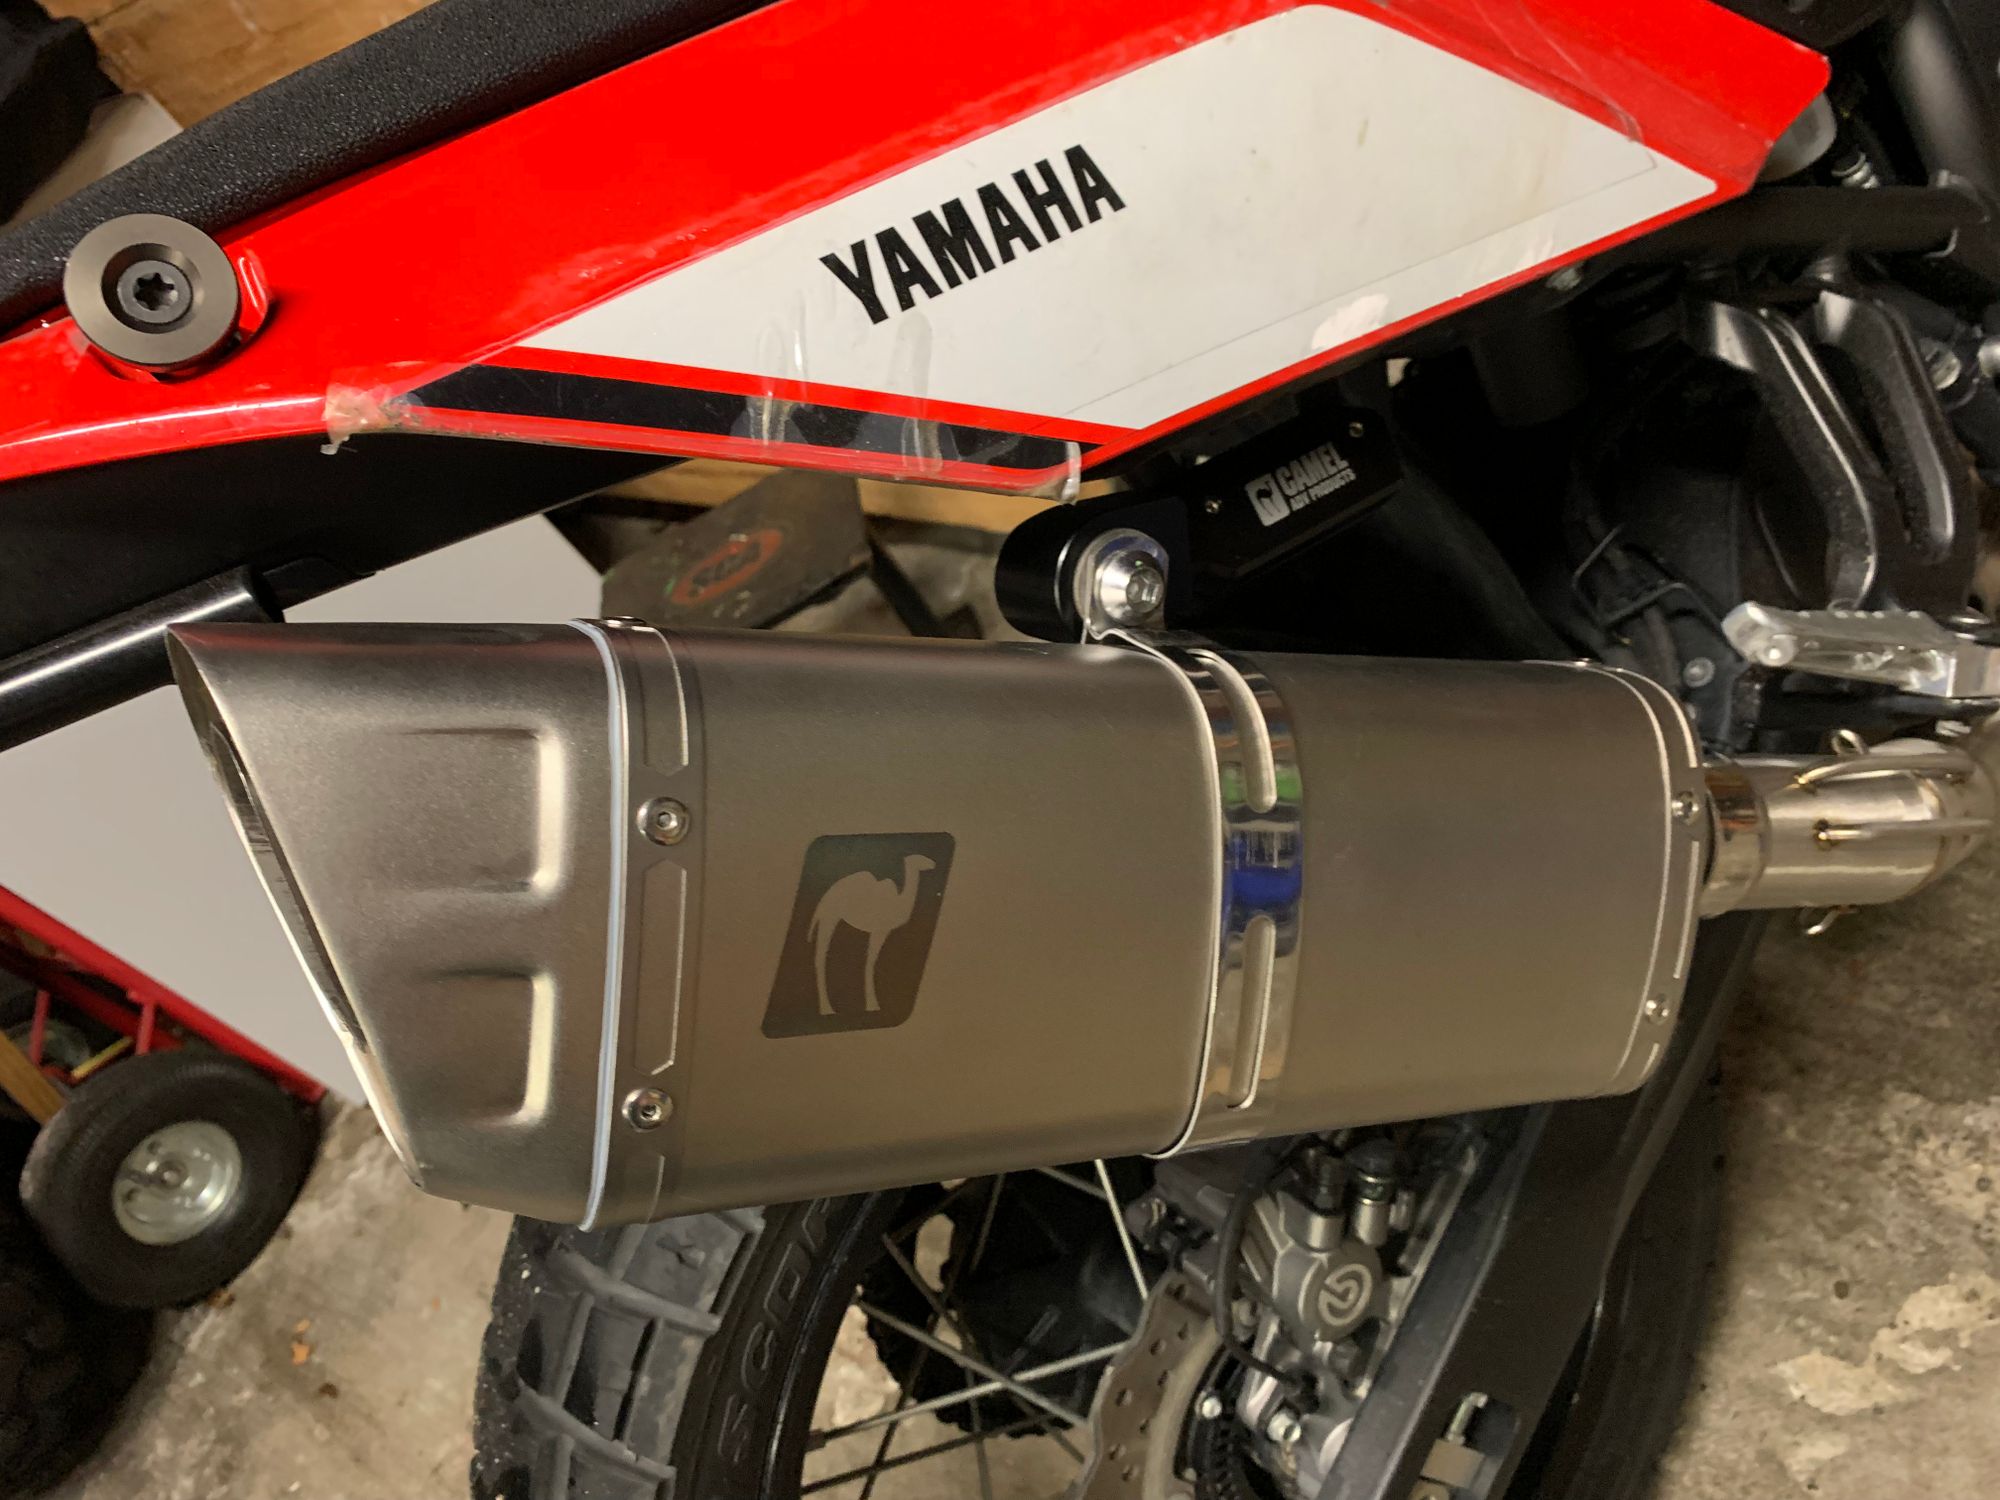
Camel ADV has designed and manufactured a hanger mod that raises up the muffler to make it less prone to bending in a drop.
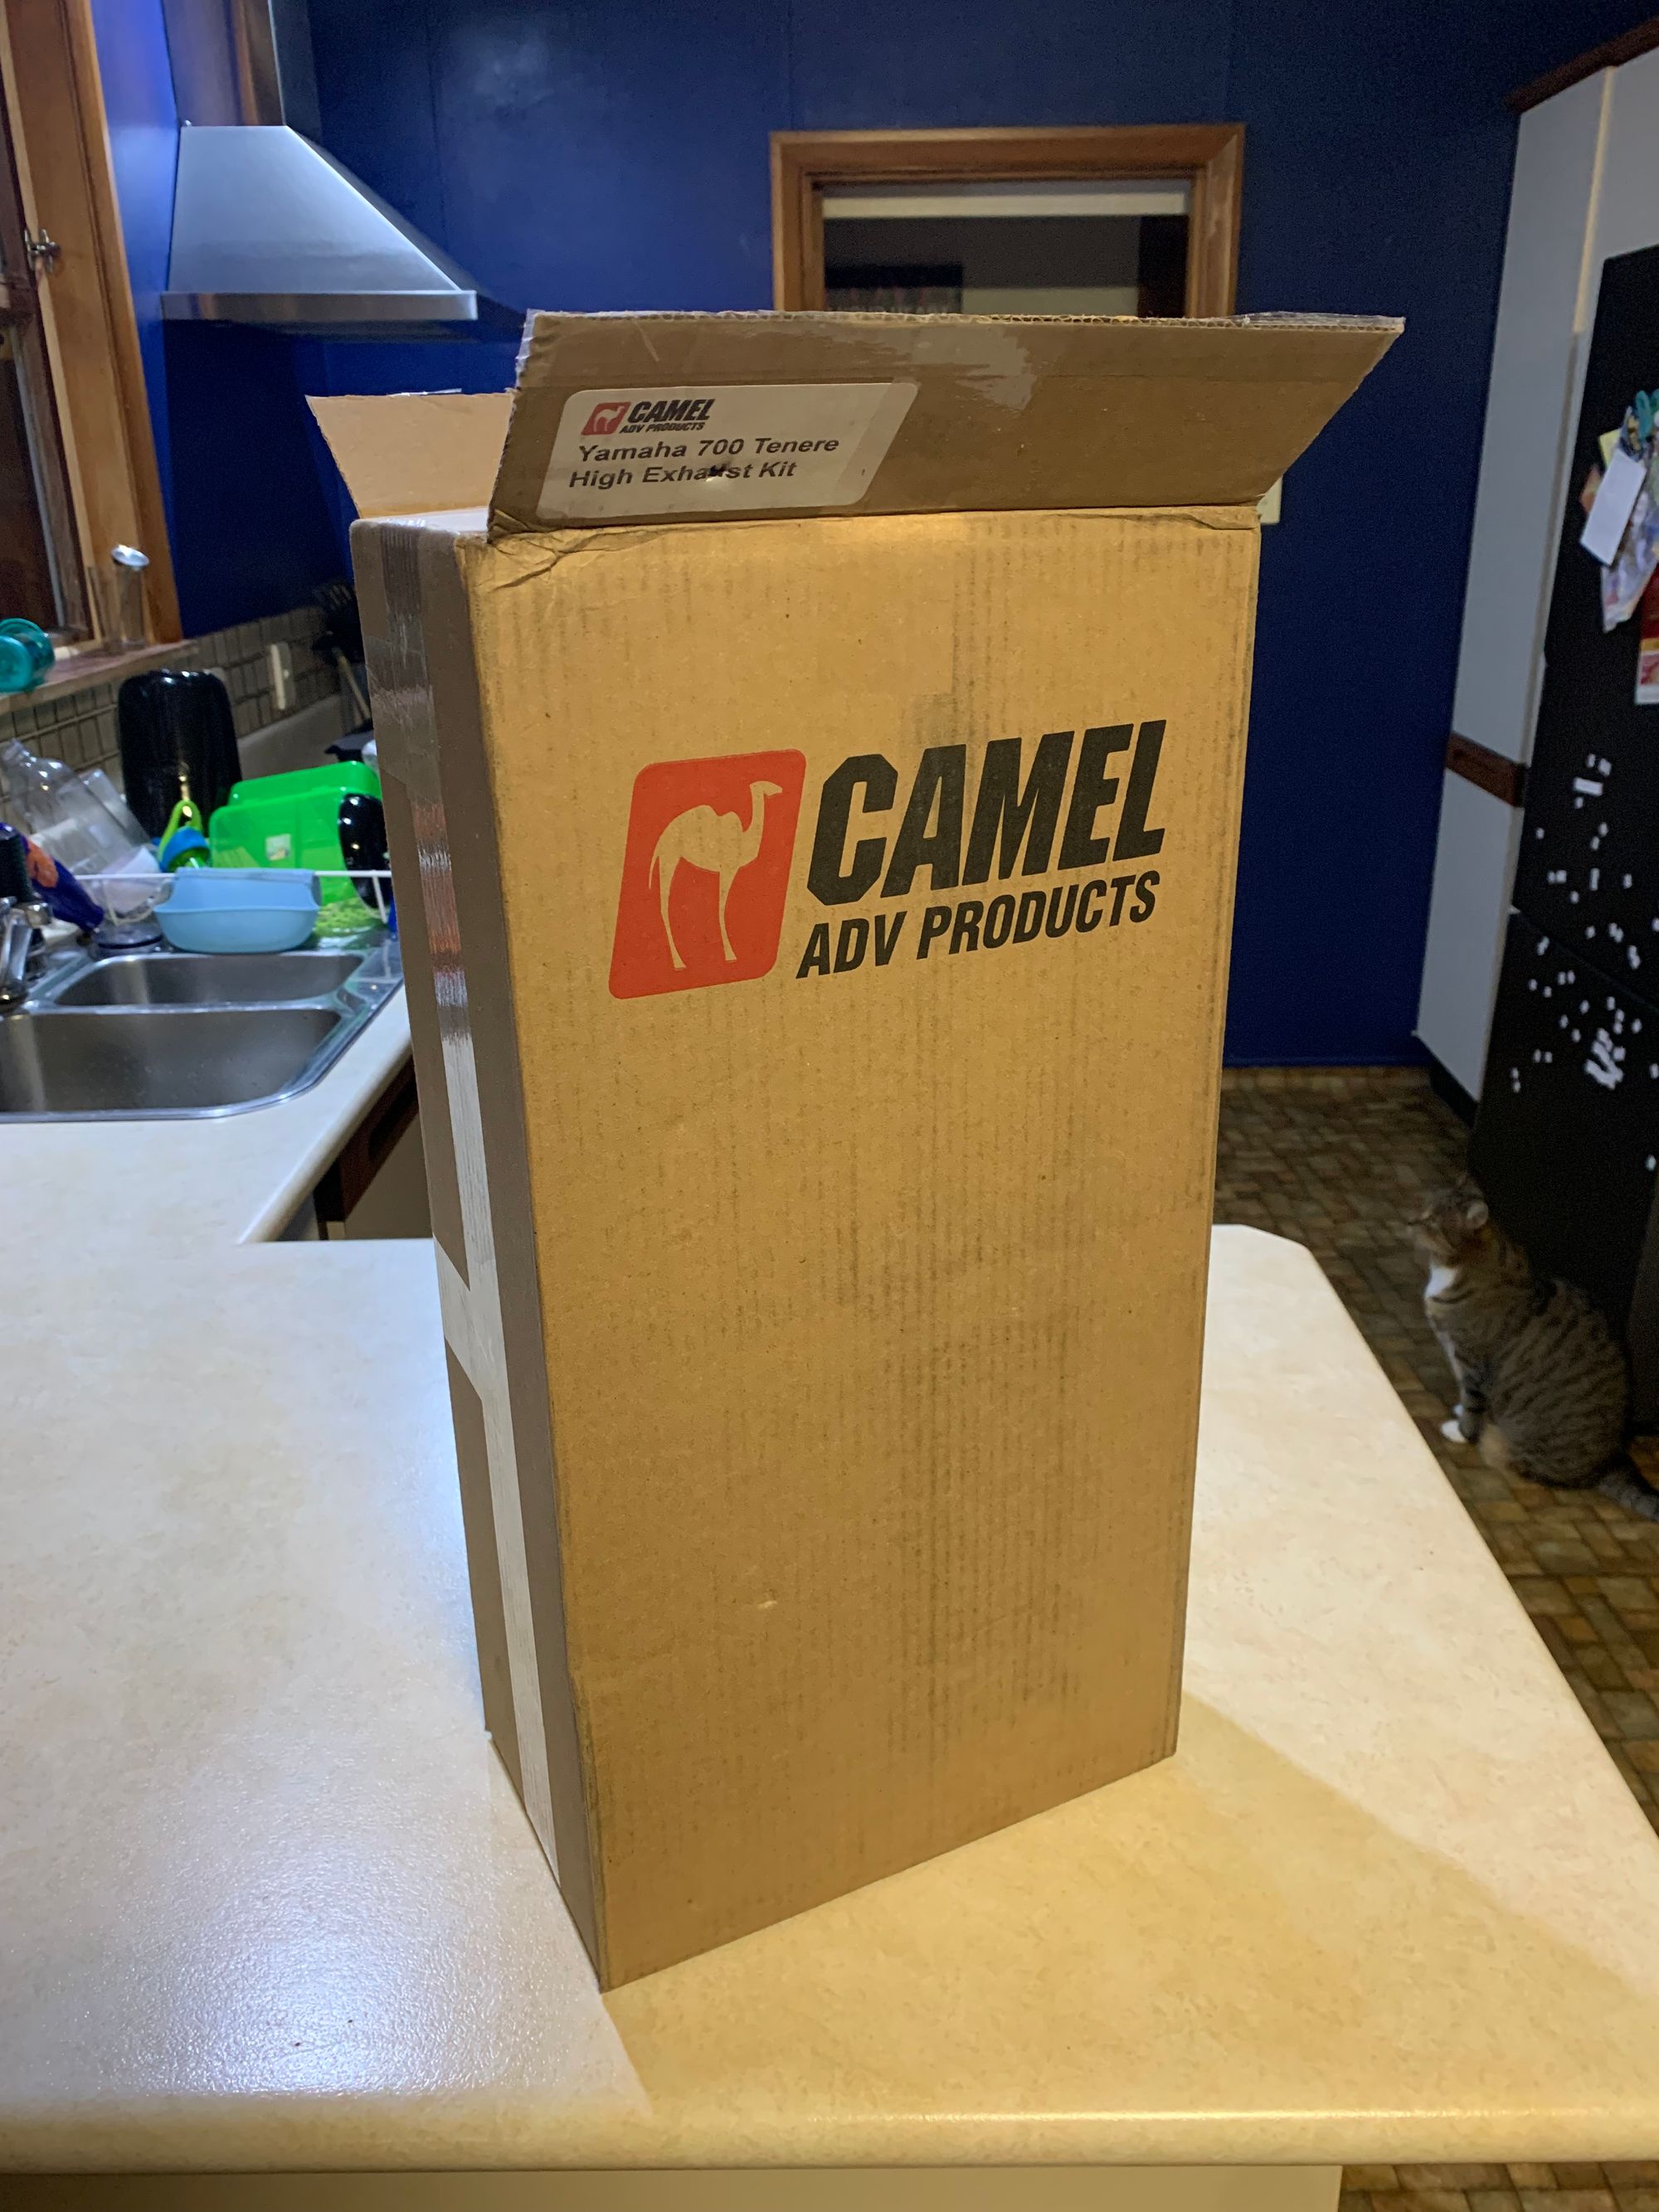
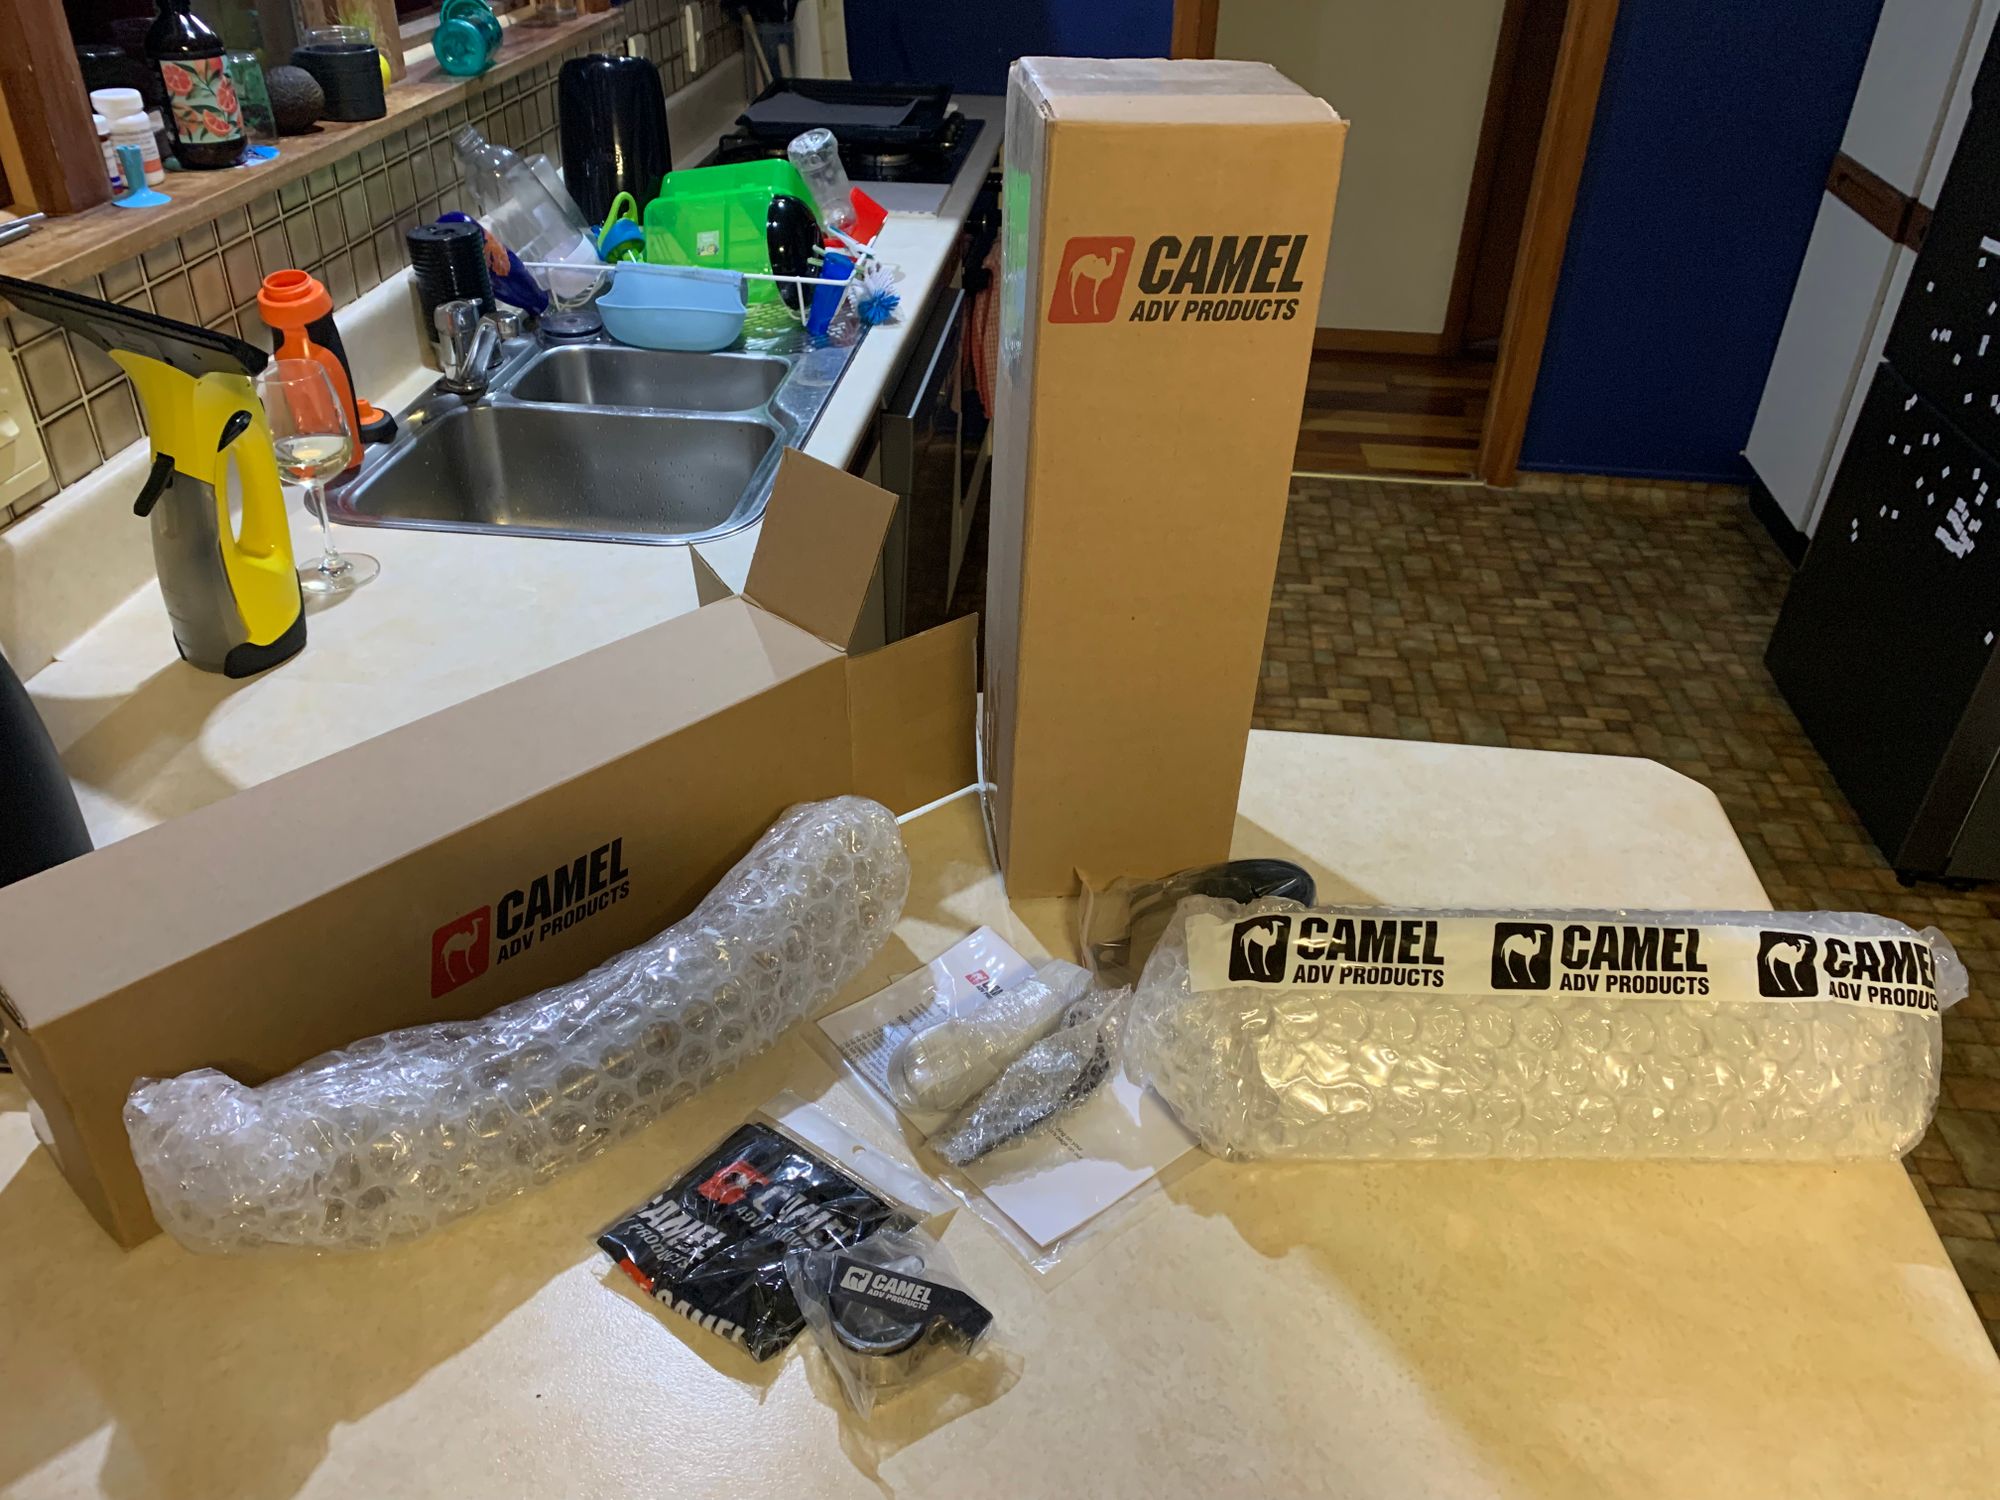
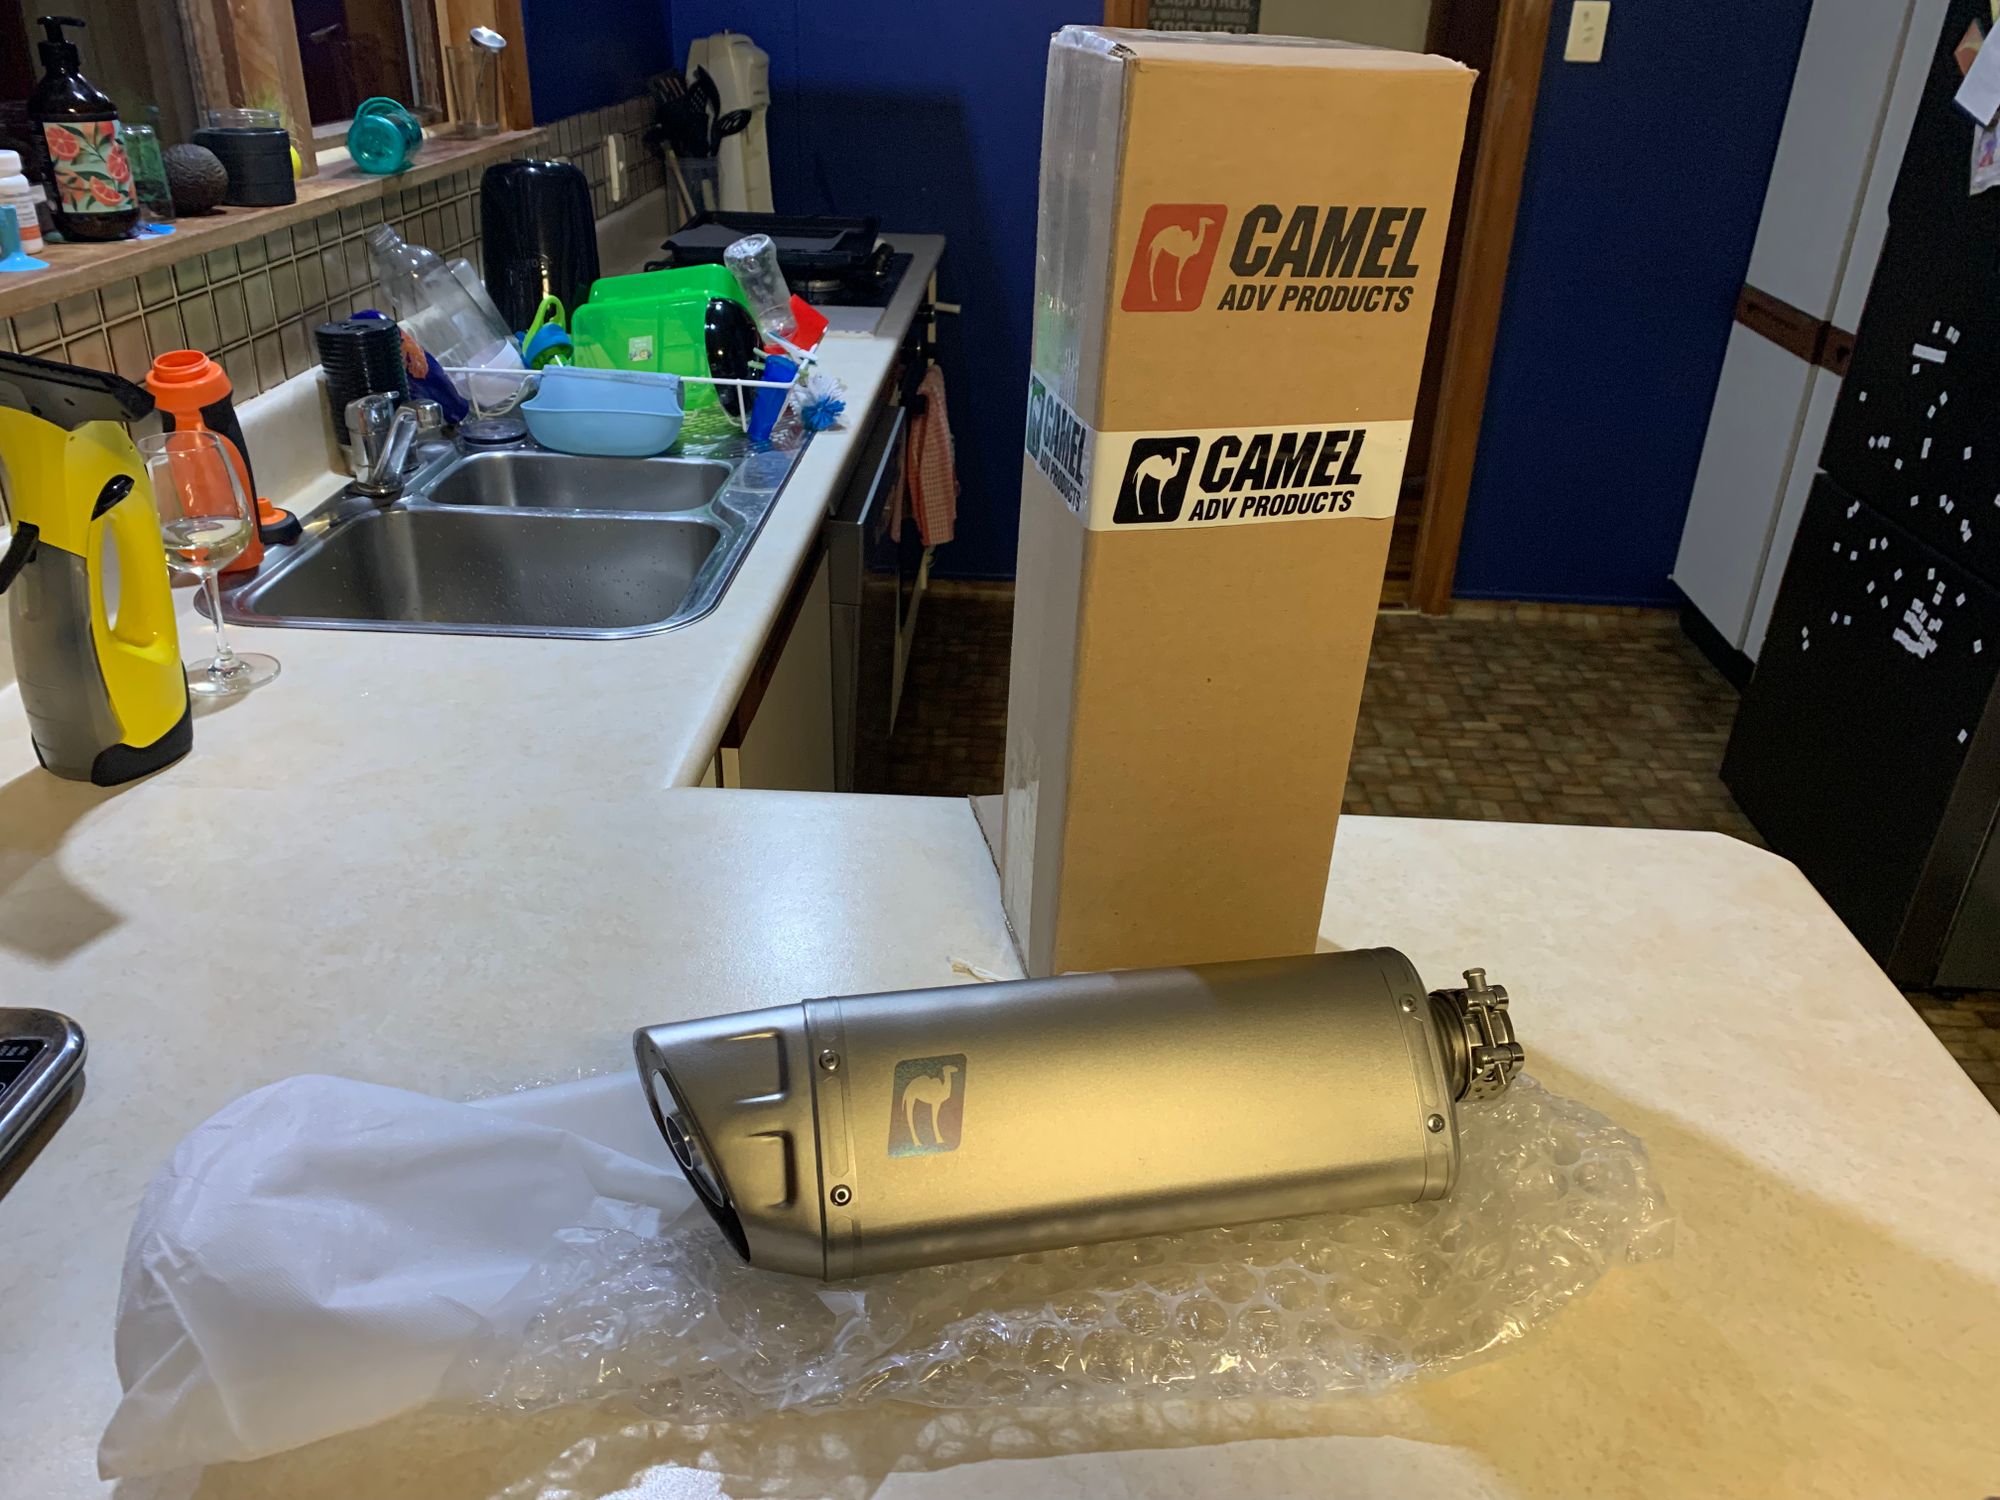
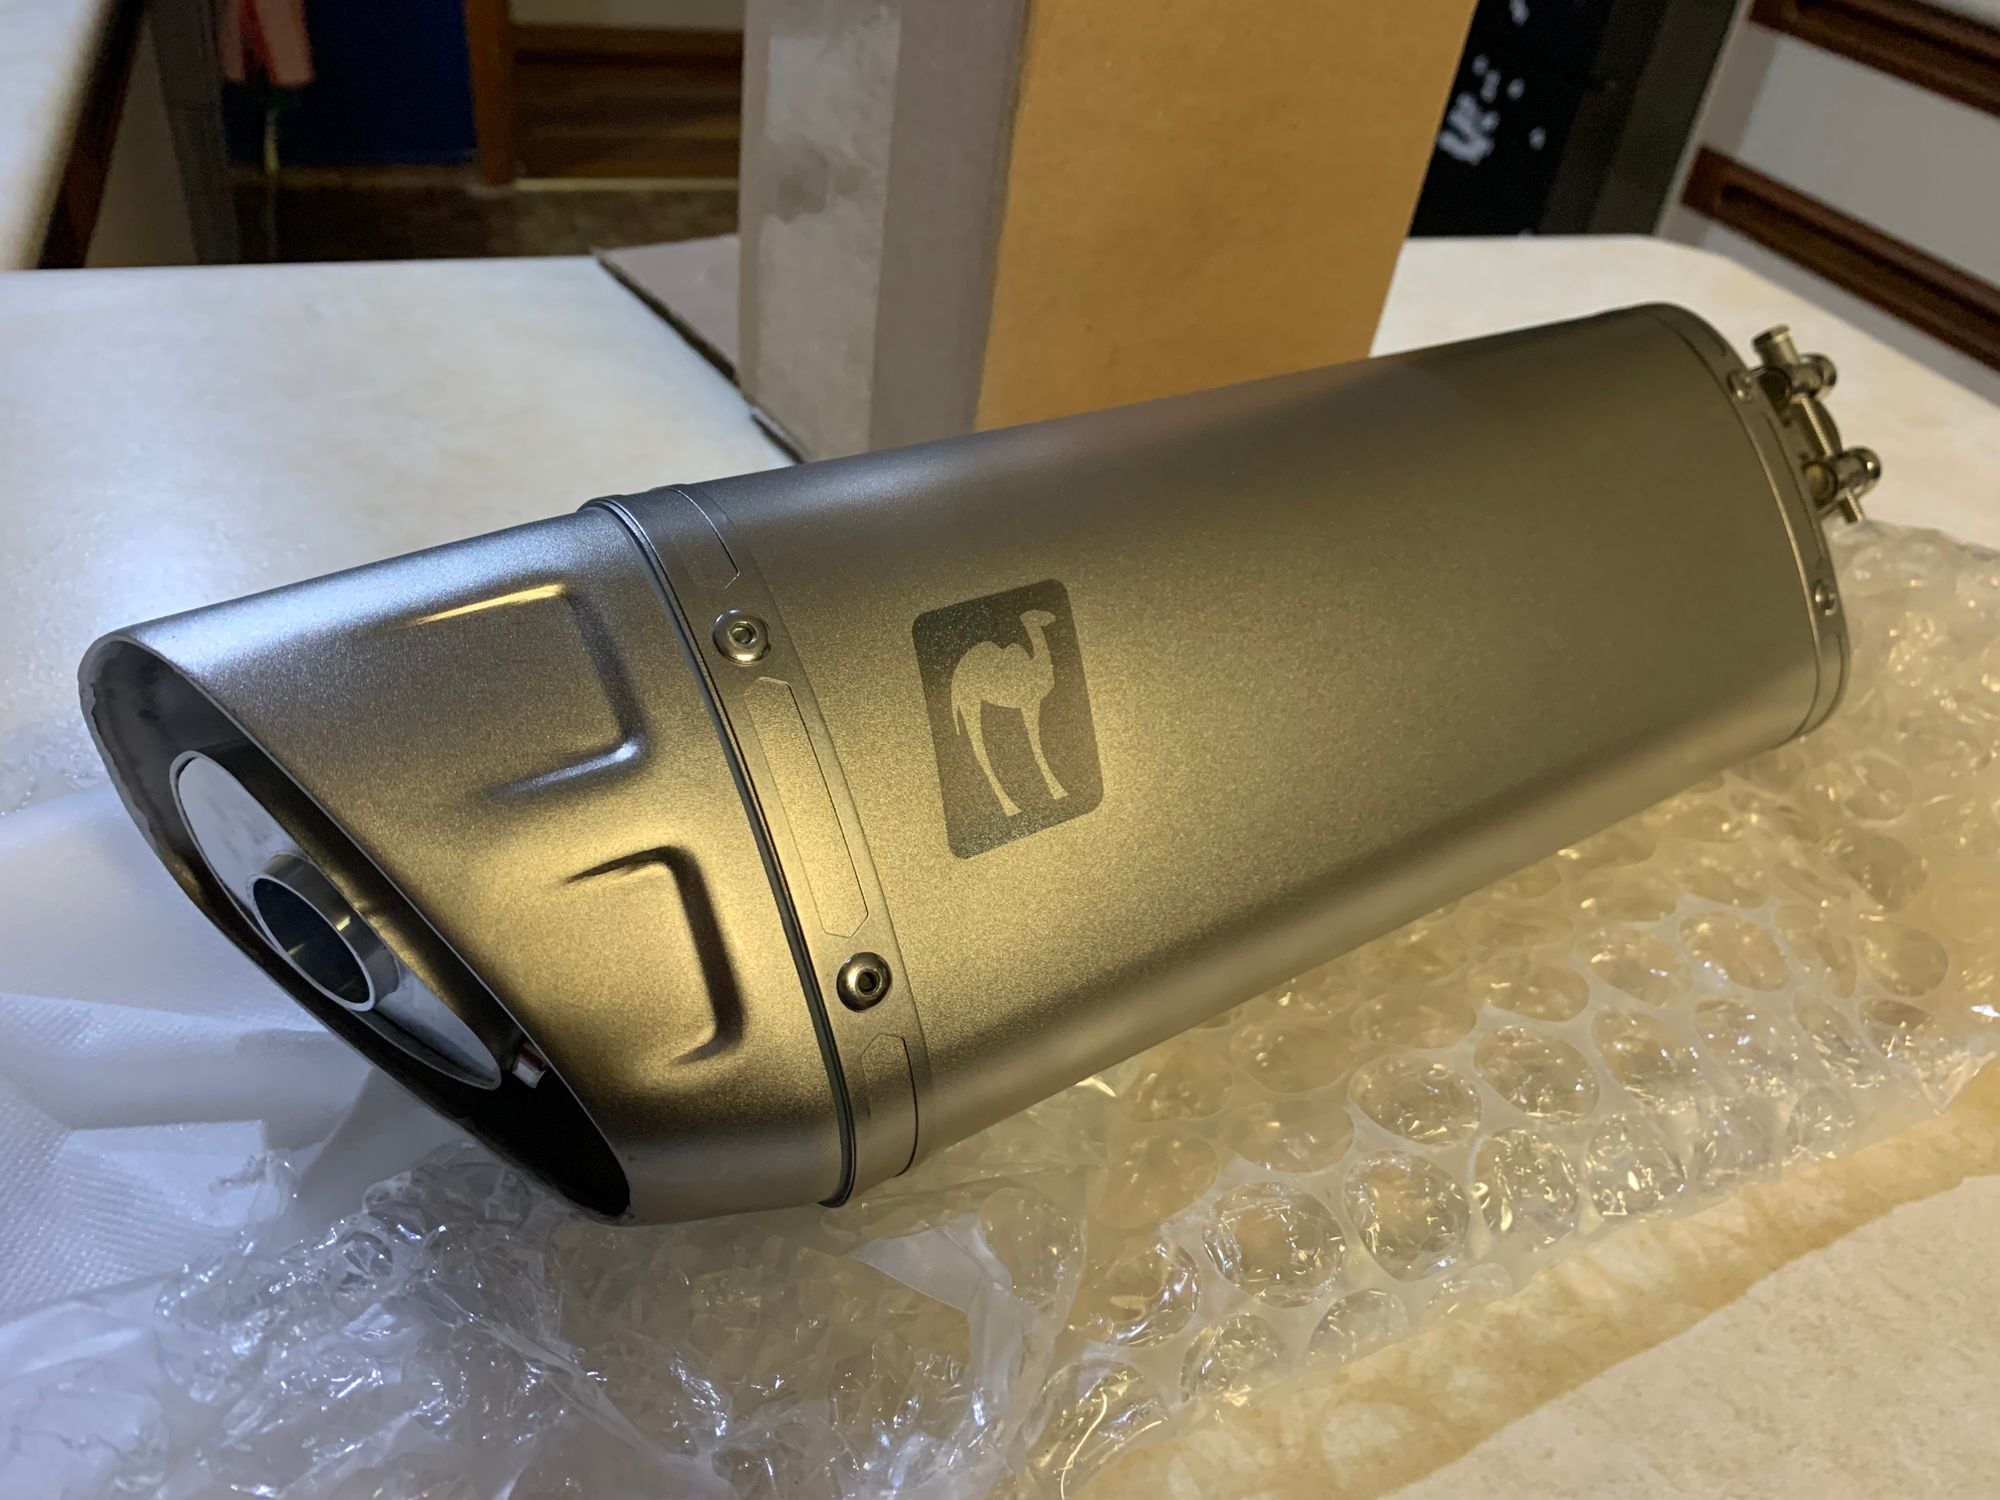
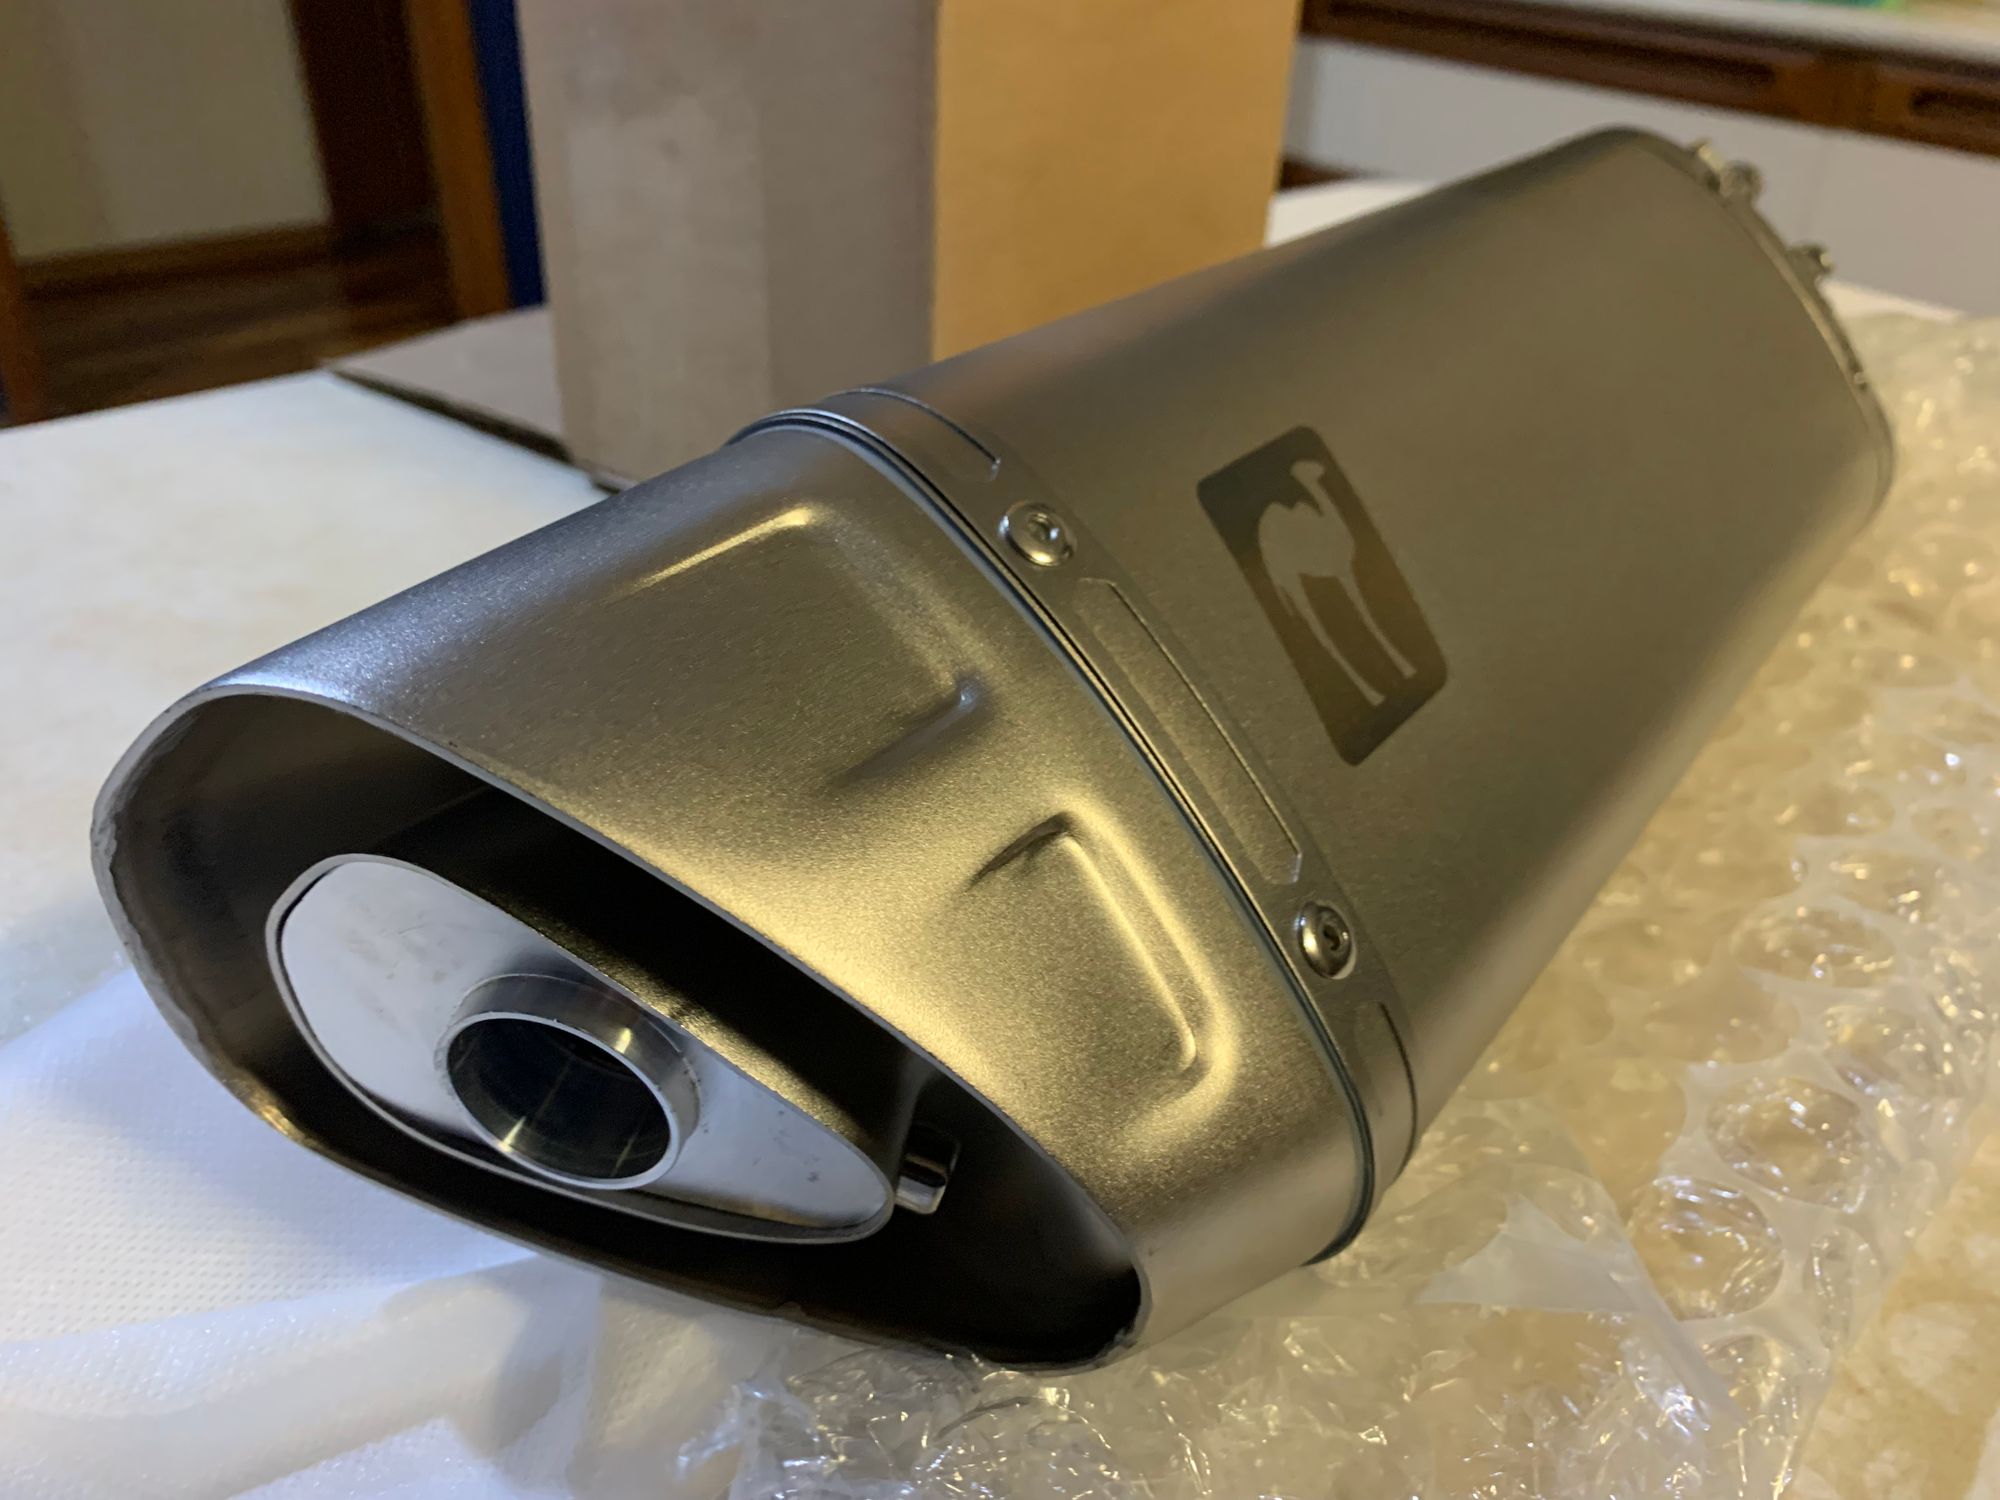
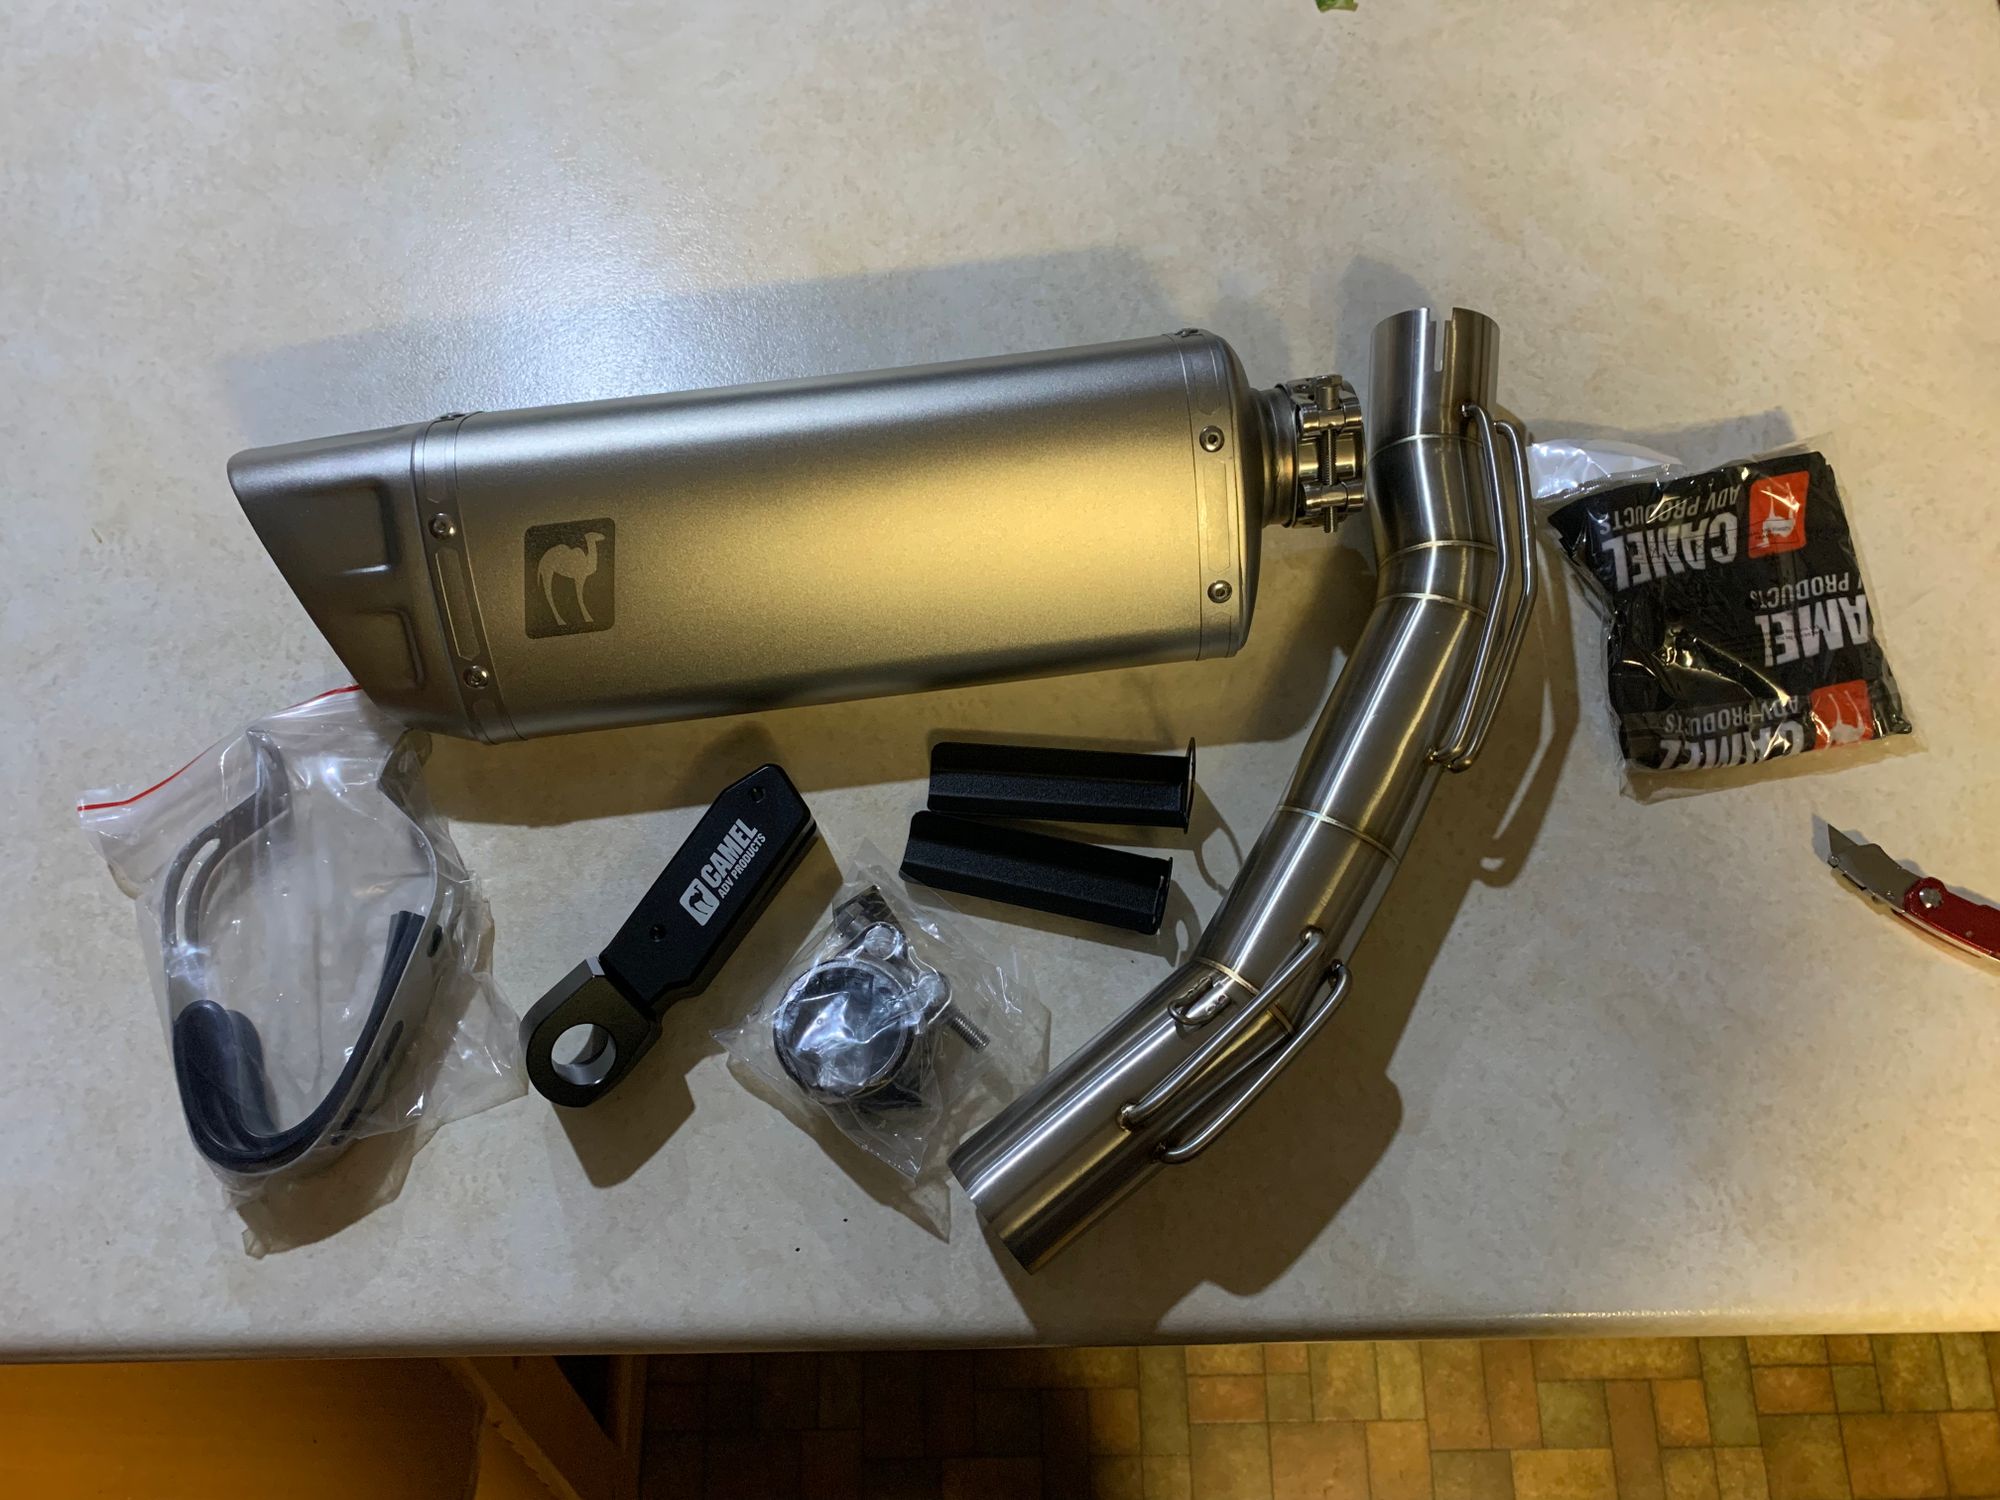
The installation process is reasonably straightforward, though it did cause me a little anxiety as there is the need to cut the factory hanger off with an angle grinder, which means this mod is not for everybody and is not easily reversible.
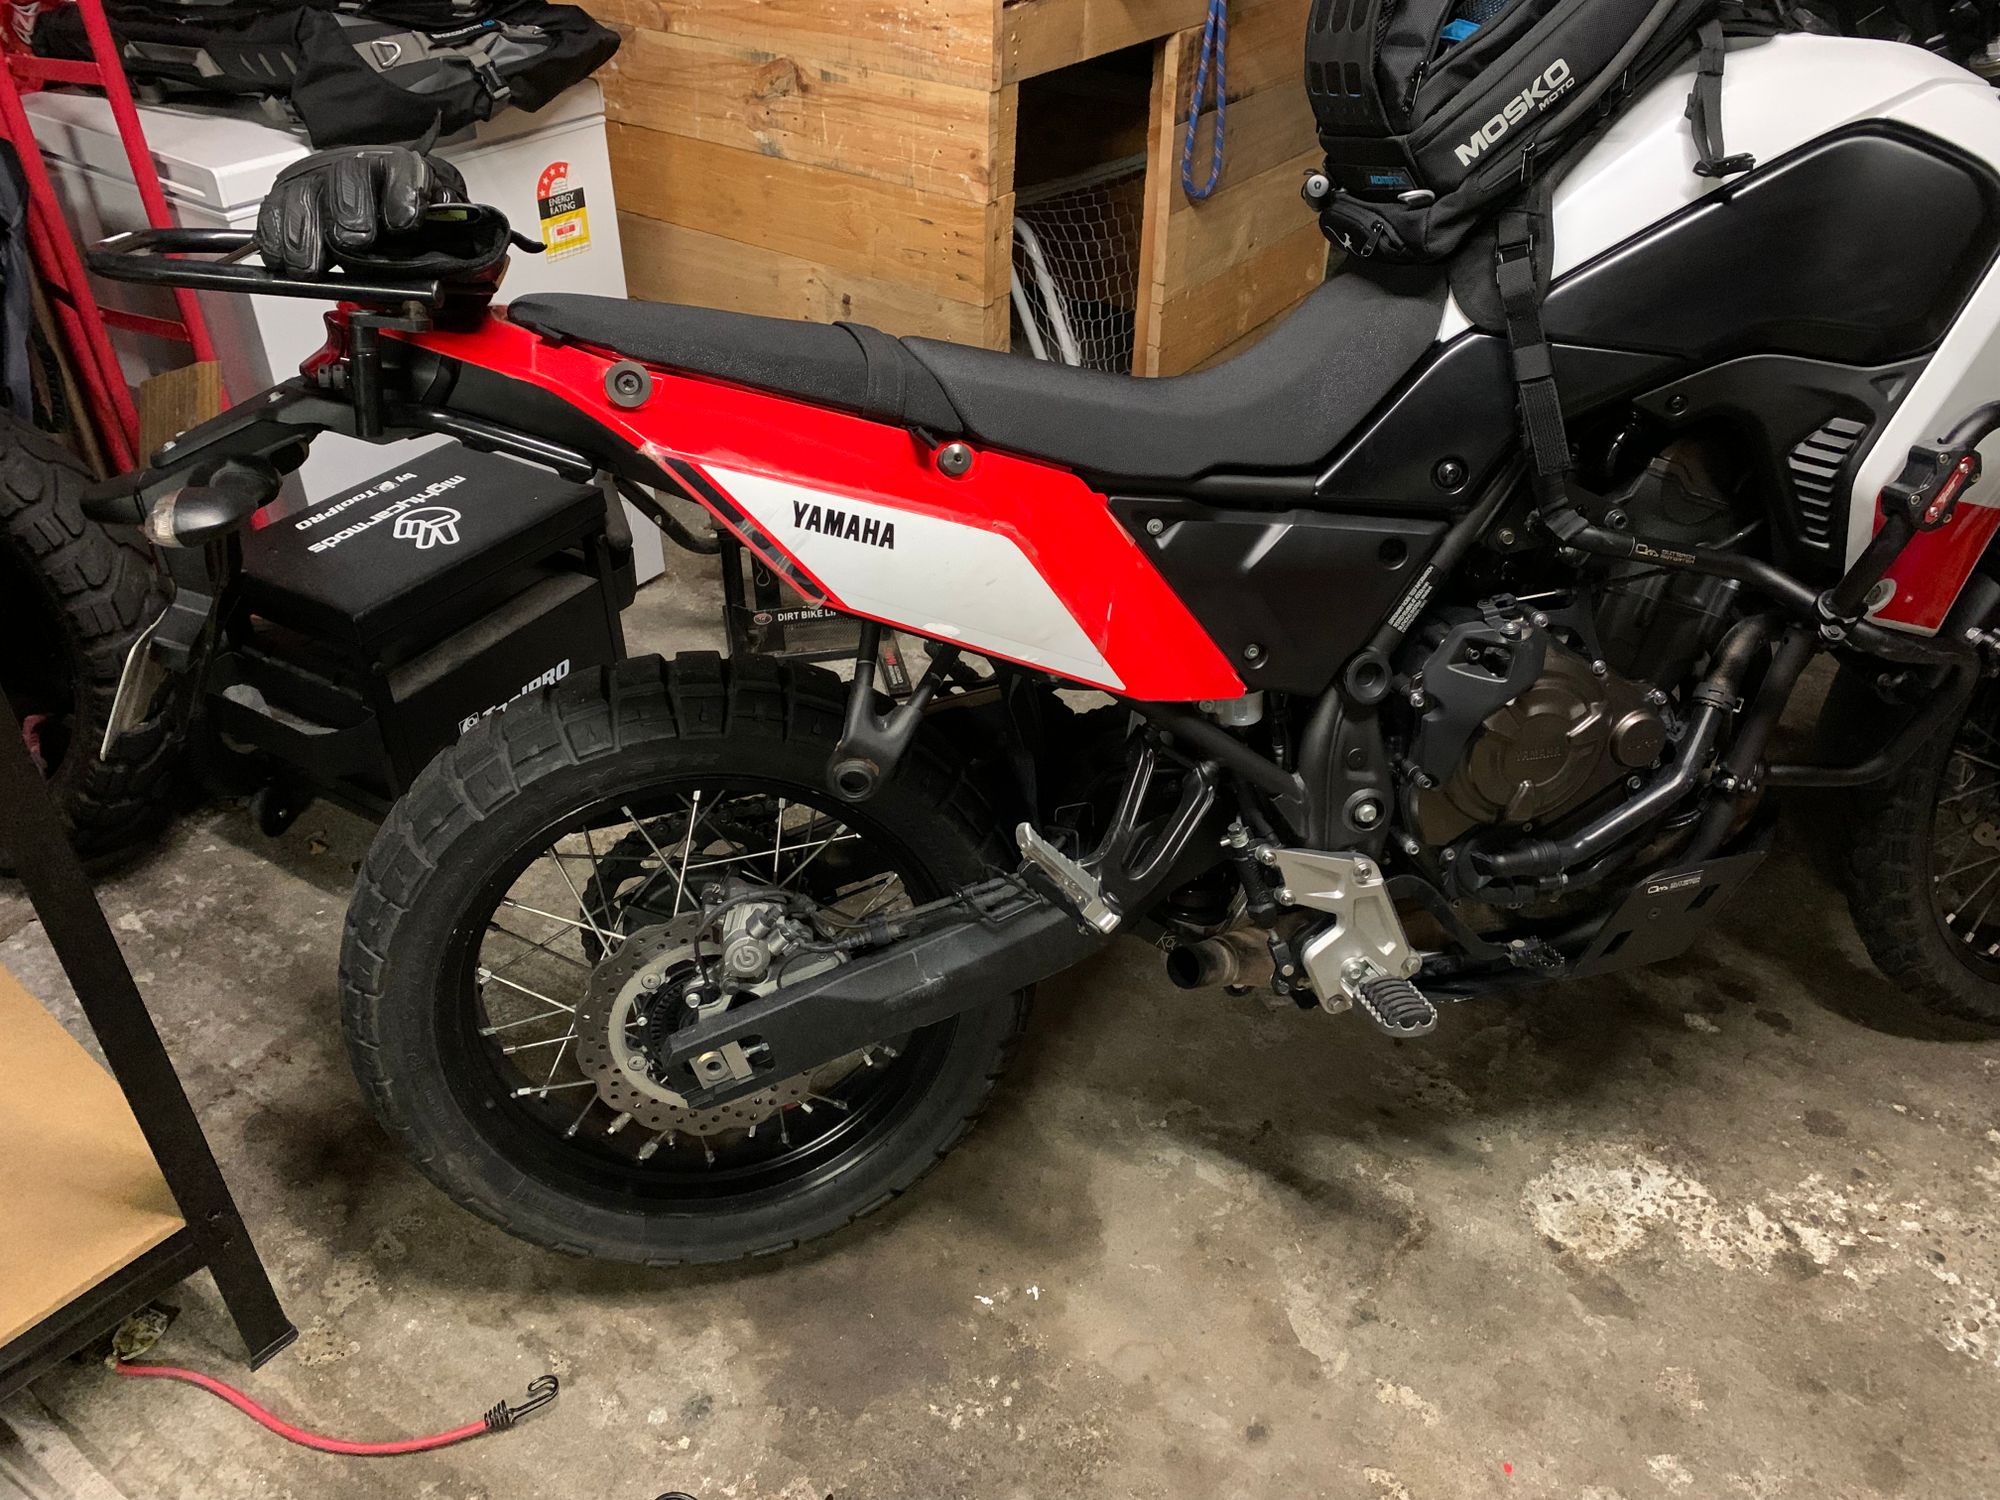
Let me walk you through the process.
1) using the supplied jig, mark the cuts that need to be made to the factory hanger.
2) Remove the factory muffler assembly, being sure to keep the mounting hardware and rubber bushing.
3) Cut the factory muffler hanger
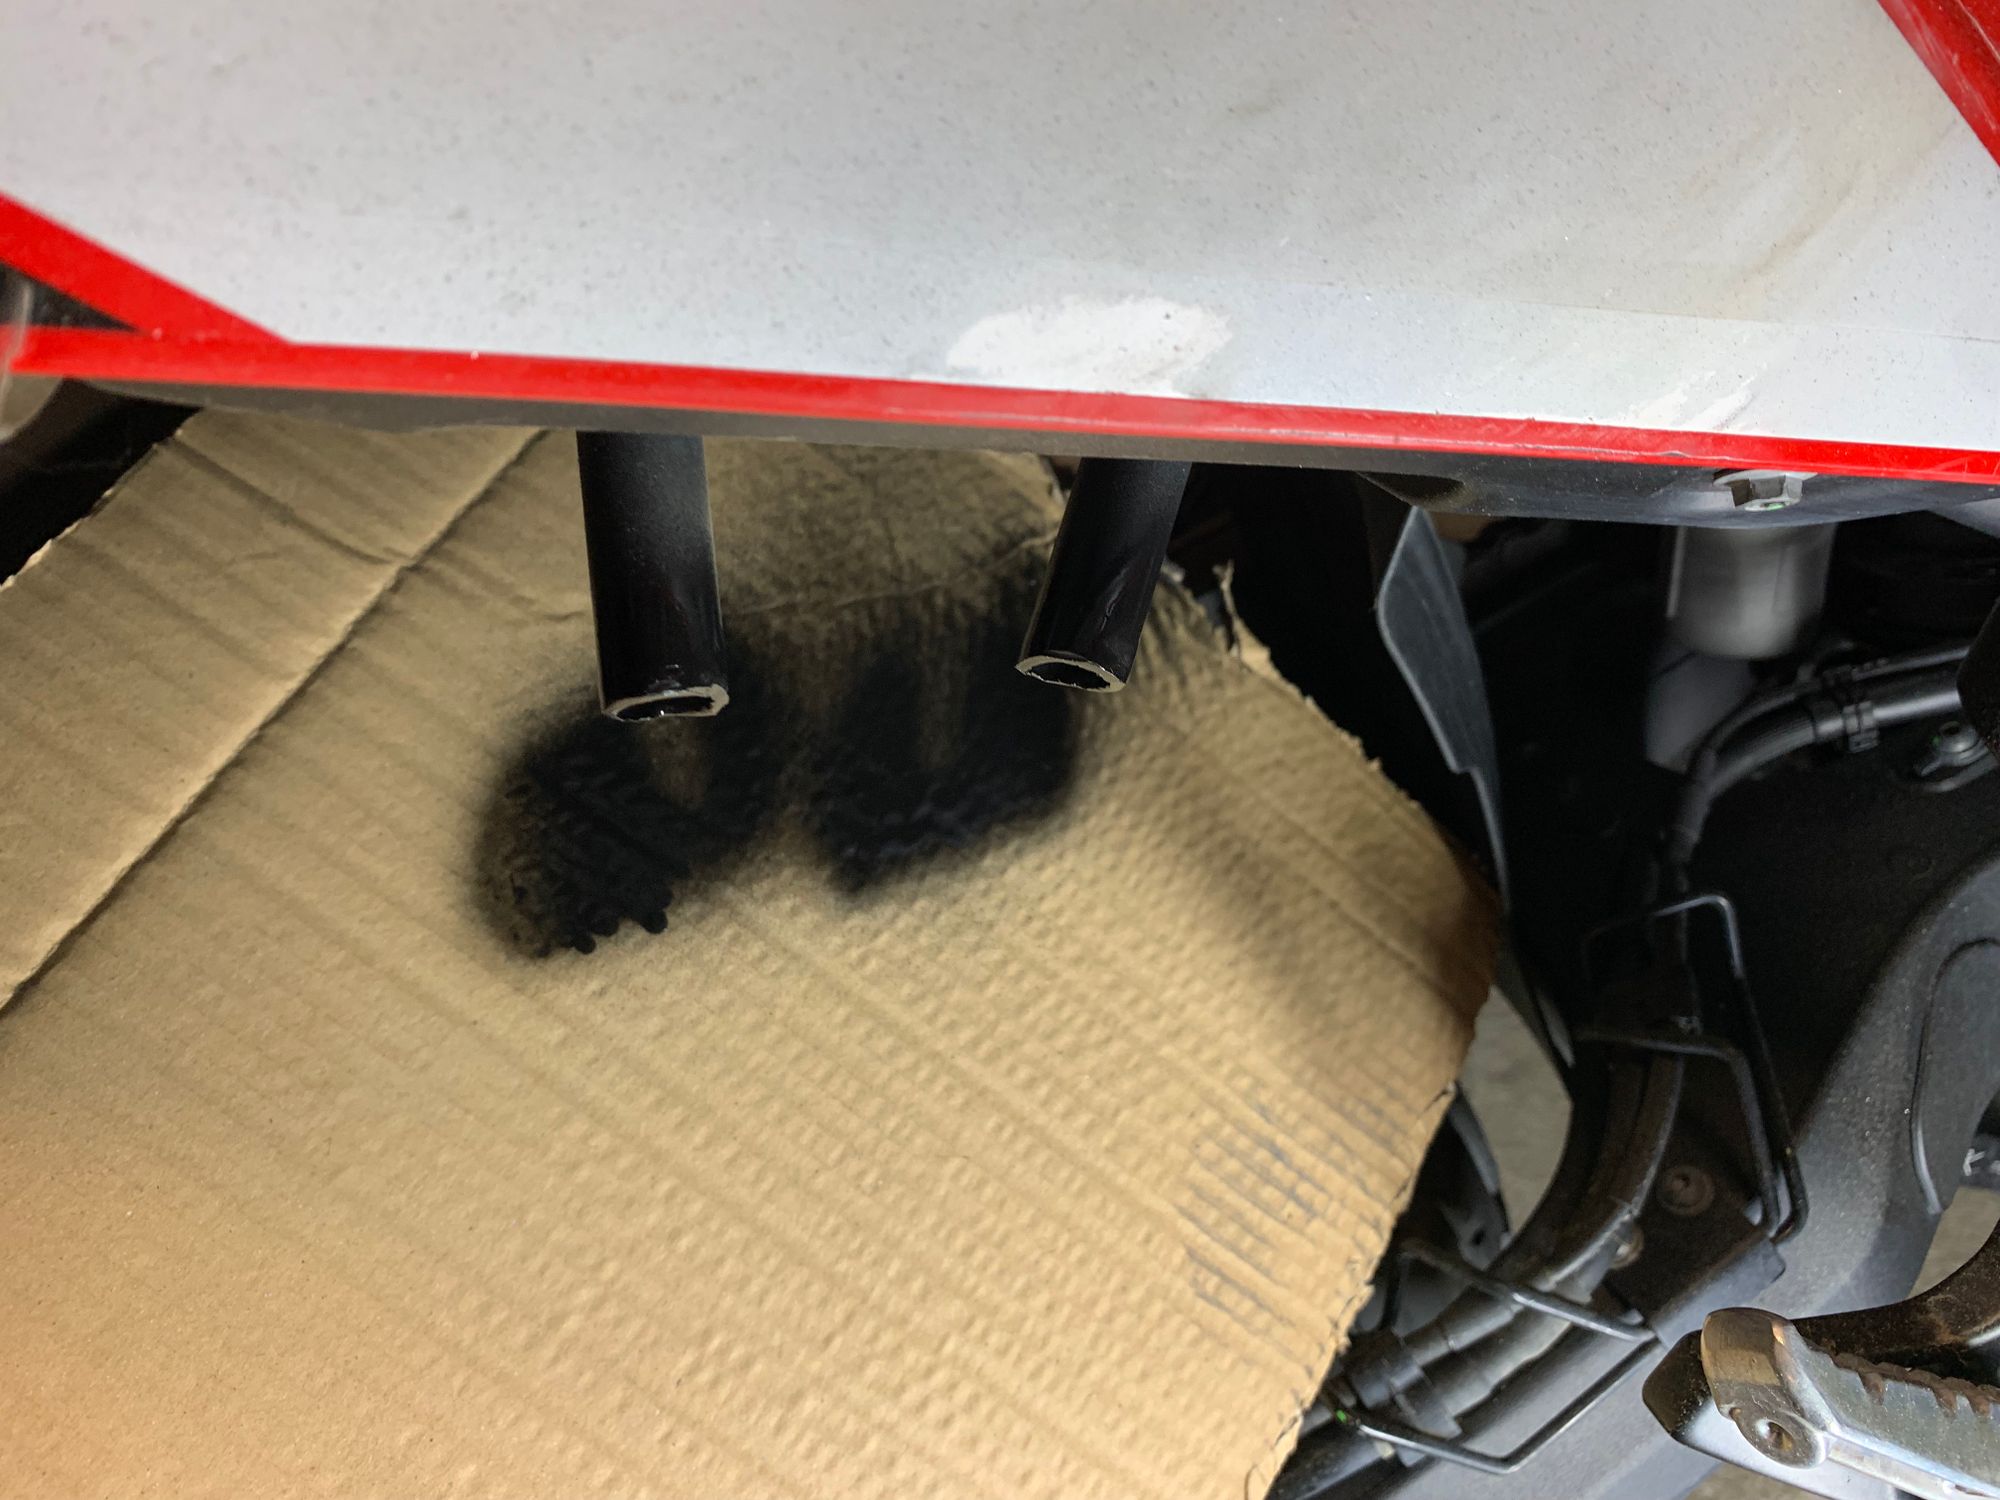
4) Tidy and paint the remaining muffler hanger studs
5) Put a small dab of red Loctite on the grub screws then screw them into the front panel of the exhaust hanger clamp, making sure they poke through in the inside about 2mm.
6) Place the front and rear sections of the hanger clamp over the remaining hanger studs. With blue Locktite on the 6mm hex bolts, bolt into place loosely.
7) Tighten 6mm Hex screws is hanger clamp to 25nm
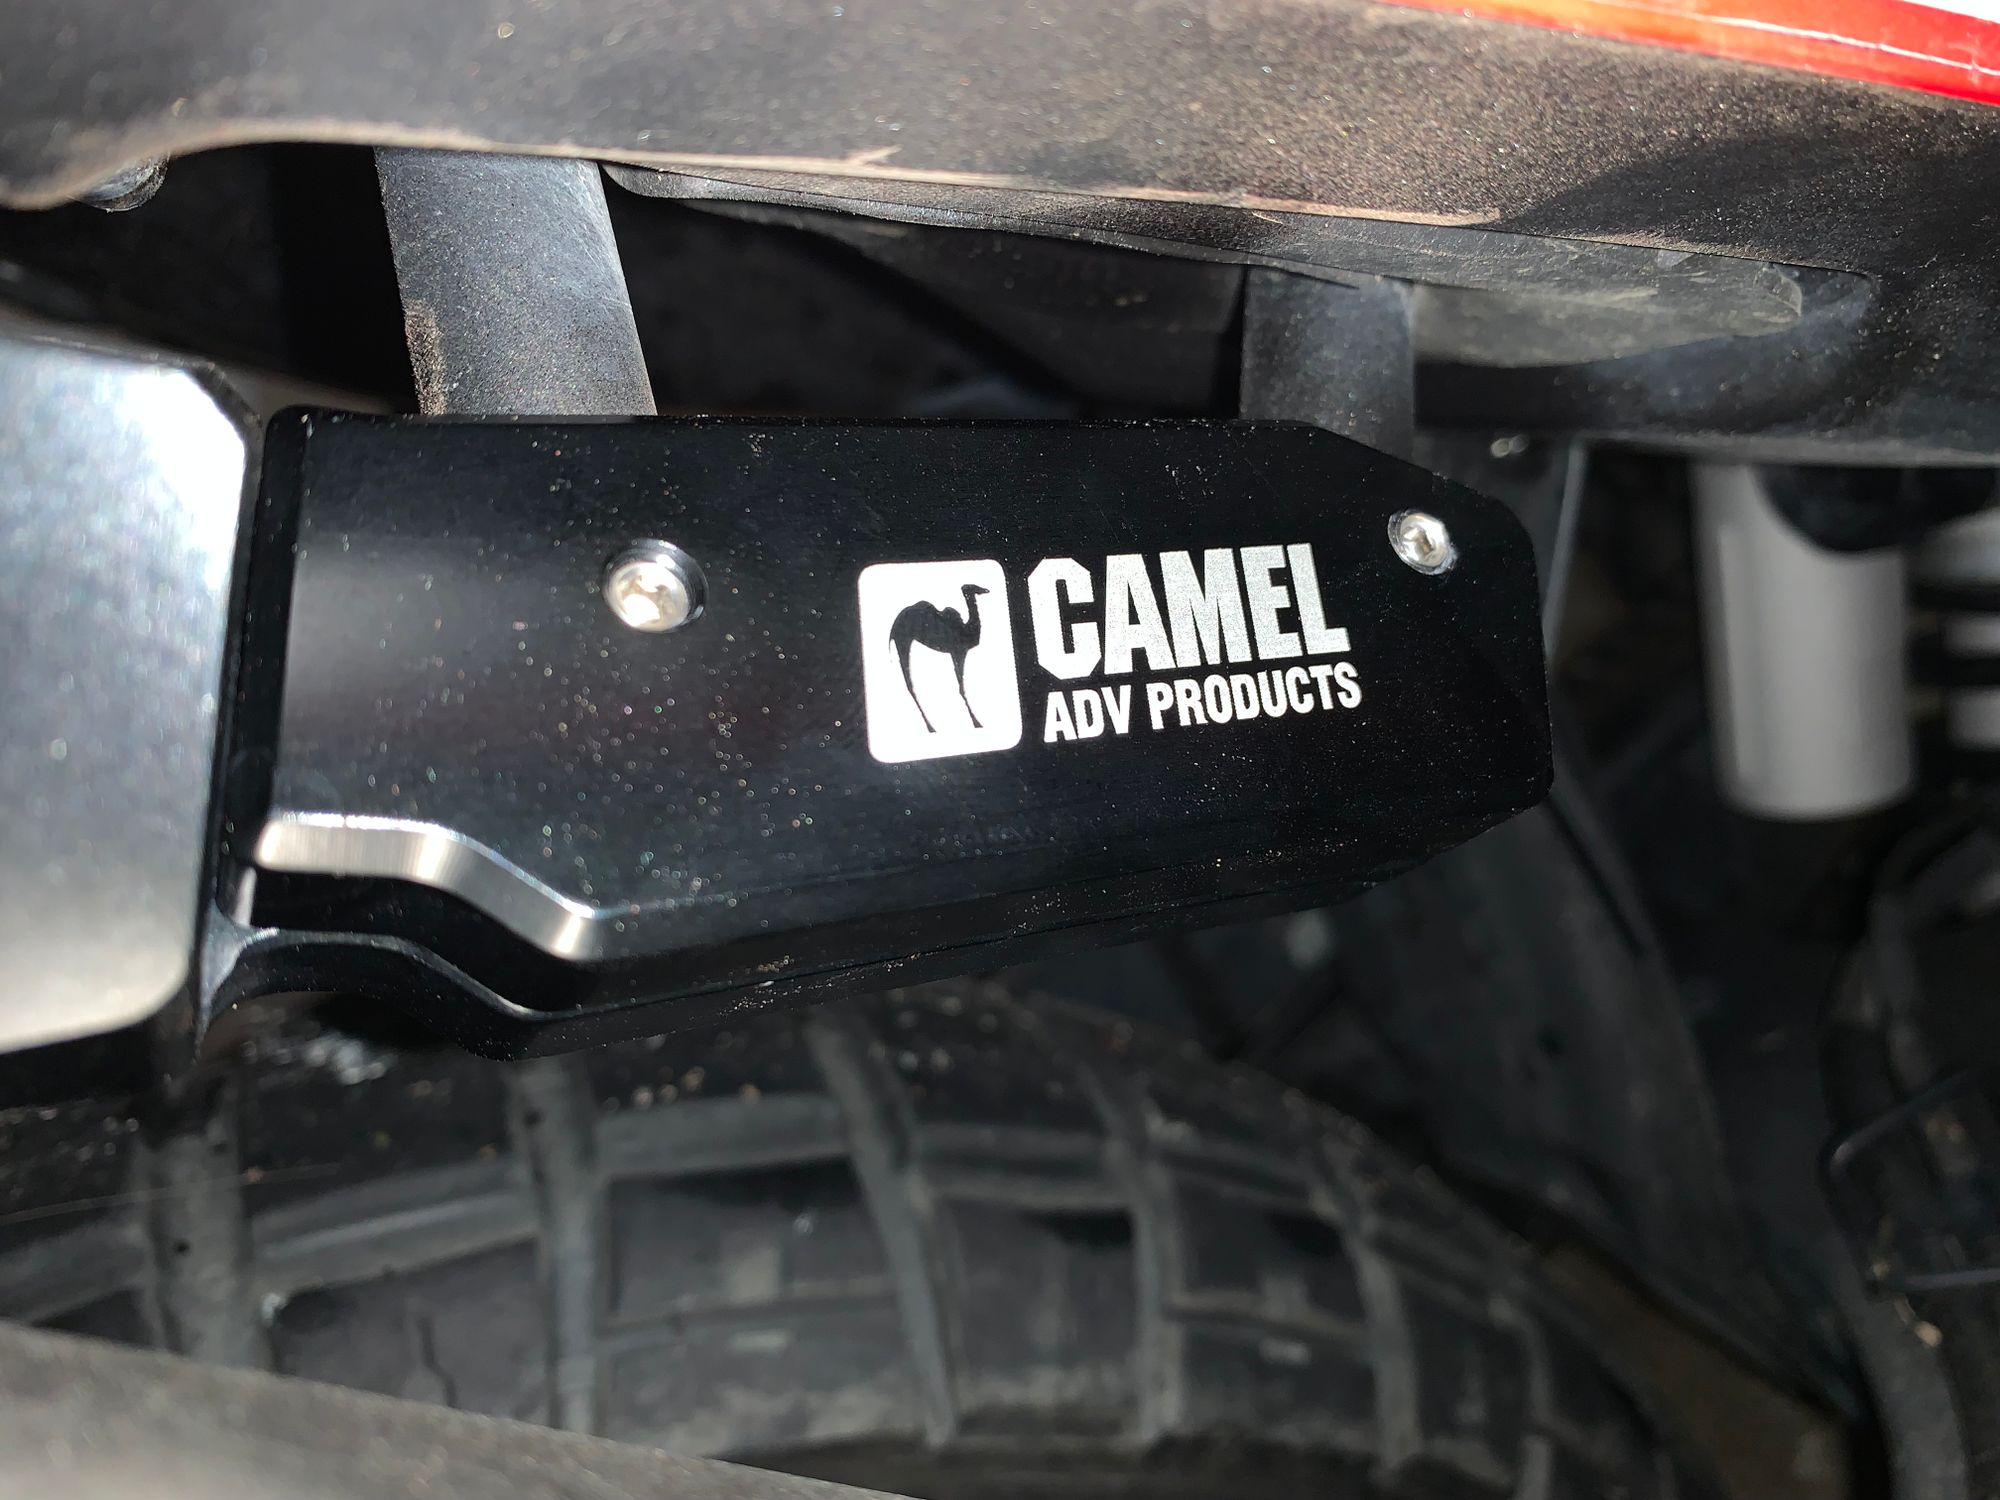
8) Insert rubber bushing in the new hanger clamp.
9) Place metal gasket over remaining exhaust mid section opening, then slide extension pipe with clamp over.
10) Using the original 8mm hex bolt and 14mm nut, fasten the muffler to the new hanger arrangement. Be sure to attach the muffler to the extension pipe loosely with the supplied clamps in place.
11) Once you are happy with the muffler's location, tighten all clamps.
And there you have it, one Camel ADV High-mount exhaust install done and dusted.
